- Web templates
- E-commerce Templates
- CMS & Blog Templates
- Facebook Templates
- Website Builders
How to install Magento engine
November 15, 2010
This tutorial will show you how to install Magento engine with sample data.
Magento installation requires a few preparation steps. First, create a database for the site. Then log in your Magento account at http://www.magentocommerce.com/. Create an account in case you don’t have one. Download the required edition of Magento engine and Magento Sample data at http://www.magentocommerce.com/download. Unzip Magento engine and sample data packages. We recommend that you use Stuffit Expander for MAC OS and WinZip for Windows OS to unzip the files.
Once unzip is completed, you can upload Magento engine files to the server. This can be performed using the file manager on your hosting place or any external ftp manager like Total Commander, FileZilla, etc.
Next, you should upload Magento sample data. Transfer ‘skin’ and ‘media’ folders to the root of Magento installation.
Navigate to phpMyadmin and open the Database created for Magento installation. You will have to import sql file from sample data package – magento_sample_data_for_1.x.x.x.sql. Click ‘Import’ tab at the top. Then, using ‘Choose File’ button, select magento_sample_data_for_1.x.x.x.sql file from Magento sample data package. Then Click ‘Go’ to start import. You should get a message of successful upload.
If Magento engine files are uploaded correctly to the server, you can start Magento installation procedure typing http://your_domain_name/root_to_Magento in your browser address bar. You will see the following stages of installation:
-
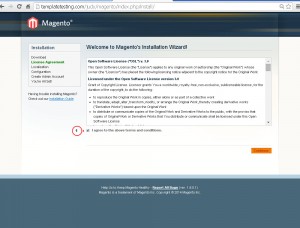
License Agreement. Please read the license agreement and click I agree to the above terms and conditions checkbox if you agree with the terms:
-
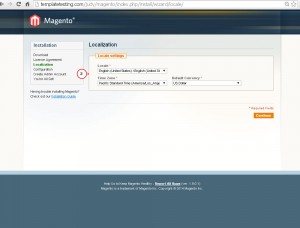
Localization. Here you set up Locale, Time Zone and default currency. Local option defines a store default language for the admin panel:
-
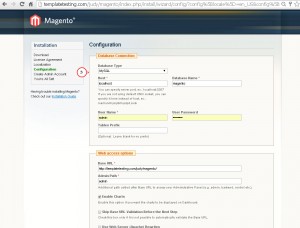
Configuration. Database Connection: input host name, username and password for the Database used for installation:
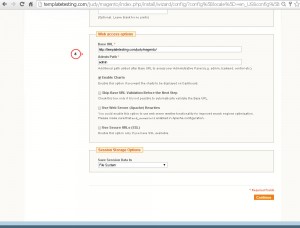
Web Access: under this section you should set up the required link for store frontend and backend:
You can proceed without any changes if you are not sure. Default settings usually work fine.
-
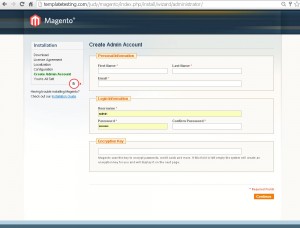
Create admin account. Fill in the fields with personal information (First name, Last name and email address). Set up login information you will use to access the site backend:
-
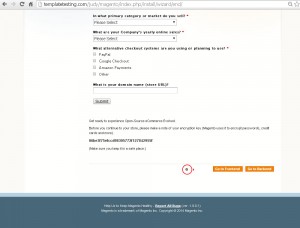
You are All Set. You can submit Magento survey at this stage. Installation procedure is completed. Use ‘Go to Frontend’ and ‘Go to Backend’ buttons to view the installed Magento engine and its admin panel:
Now you know how to install Magento engine with sample data.
Feel free to check the detailed video tutorial below:


