- Web templates
- E-commerce Templates
- CMS & Blog Templates
- Facebook Templates
- Website Builders
JS Animated. How to change images
August 18, 2014
This tutorial will show you how to edit images in JS Animated templates.
JS Animated. How to change imagesAll images are stored in the “site/images” or “site/img” directory (depending on your template type) of your template package.
Open the template folder, go to “site/images” or “site/img” directory (depending on your template type).
You can upload your images with the same name and extension to replace the default ones.
The other way is to upload custom images with your titles and extensions. Then you’ll need to change the image file names in the .html files.
You can use Notepad++ or SublimeText for editing files. You can check the following tutorials on how to download and install them:
The easiest way to edit html files is the following:
Download it from “site” folder to your computer.
Open with any code editor available.
Use search tool CTRL+F to find the images insertion code in the .html file.
Replace the images names/extensions and save the changes.
After you’re done – upload this file back to replace the original one.
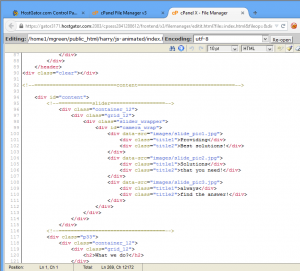
For example, the slider .html code is as follows:

Where the slider image name is: data-src=”images/slide_pic1.jpg”
Feel free to check the detailed video tutorial below:
JS Animated. How to change images


