User Tutorials for Gutenberg WordPress Editor
- 10 Gutenberg Editor Tricks
- Gutenberg Editor for Beginners
- How to Convert Your Current WP Posts to Gutenberg Blocks
- How to Create a Custom Gutenberg Block in WP
- How to Place a Cover Image Block in Gutenberg
- How to Add a Carousel to Blog Posts and Pages with Gutenberg
- How to Place an Image to a Paragraph Blog Using Gutenberg
- How to Embed a Page Post with Gutenberg
- CSS Shapes for Gutenberg Blocks
- The Ultimate Products for Gutenberg Editor. Only the Best!
- Gutenberg + Elementor = Bang!
The sphere of informational and digital technologies is one that is hard to compete with, especially when it comes to varied novelties. On the one hand, it gives users vast choices and stimulates providers to work on the quality of their products. On the other hand, new businesses literally cover bad quality with bright and catchy marketing. So, it happens that modern consumers struggle with making the right purchase, with no regrets the money spent on it.
Gutenberg WordPress Editor is the must-have tool for CMS!
So, it’s been a year since the sensational Gutenberg WordPress Editor was released. Now, it is on its way to proving that the process of website building can be without many difficulties. Moreover, it’s become more available for everyone, due to this editor-plugin and its add-ons.
Just for the record, Gutenberg (named in the honor of Johannes Gutenberg who started the printed revolution) is more than an editor! It is based on the ability to represent all content in blocks and define the record layout right in the editor. That’s truly easier and more innovative compared to other products of this rank. Using Gutenberg you create complex layouts without knowledge of HTML and CSS (for example, earlier you had to find the right shortcode or plugin to add some video/image or a button. Forget about it! Now you just click on “+”). The location of blocks in the editor also looks like the actual structure of the page. That’s what real live editing means.
Hopefully, you’re engaged with Gutenberg WordPress Editor and want to increase your user knowledge. Go on reading to find out lots of useful and interesting tricks!
P.S. Learn more about the latest WordPress and Gutenberg innovations in our ultimate cheat sheet.
10 Gutenberg Editor Tricks
#1. View at Different Angles
In Gutenberg, there are a few variants of “editor view.” You can find them at the top right corner. Hovering over that, you’ll see “more” - more options for your ease of use.
- Unified Toolbar
You’re provided with two alternatives of working with the toolbar. When there is a check-mark on “Unified Toolbar,” it appears on the top of the editor. When it’s not checked, the toolbar is available above each block you hover over. - Spotlight Mode
This option is included to highlight with bold the block you are currently working on. It also fades those that are less important for your workflow. - Fullscreen Mode
Fullscreen Mode expands the editor itself. So, you can watch it without the WordPress admin menu.
All these options are very easy to switch between. You can try each of them.
#2. Keyboard Shortcuts
There are plenty of shortcuts are for your user comfort. You can find them easily. Click on the ellipsis in the top right corner and follow down the menu.
#3. Copy Multiple Blocks at Once
To copy all the content in the blog at once, click on the ellipsis on the top right and at the bottom of the menu you will see “Copy All Content.” That’s what you need to complete this task.
#4. Moving Blocks
Moving any block is absolutely easy using up and down arrows. Hover over a block and they will become visible. You’ll also see a dotted icon at the left of the block. Use it to put the block anywhere you prefer.
#5. Changing Block Types
Click on the block you need and choose the current block type option. Every block type can be changed only to its current block type. It depends on the content it includes. For example, a text block can’t become an image block.
#6. Adding New Blocks
You add a new block by:
- hitting “return” at the end of the current block and a new one will appear below it
- clicking on the “+” at the top left to get a new block right after the block you’re working in
- typing Alt+Ctrl+T to add a block on the top of the current one and Alt+Ctrl+Y to add a block on the bottom
- clicking on the ellipsis to embed a new block on the top or bottom
#7. Removing Blocks
Click on the block you want to delete and hit Alt+Ctrl+delete/backspace. Or use the ellipsis.
#8. Advanced Block Options
To get some extensions, go to the settings icon (next to the ellipsis in the right).
#9. The Info About Post Structure
Use the Info Icon at the top left to find out info about word count, a number of headings, paragraphs, and blocks, and even a summary of the entire blog layout.
#10. Search for Blocks
This option is very helpful when you have many different blocks and want to focus your work on a specific one. It can save your time.
Gutenberg Editor for Beginners
In reality, this article section sounds more like an assertion than a title for a tutorial. The main idea of Gutenberg Editor creation is the comfort of users without a professional background. So, if you are not tech-savvy, update your WP version to add and customize new content easily and quickly. This editor is a real magic tool for bloggers as they always deal with tons of new content and search for creative ways of its showing.
So, let’s talk about how to use WP Gutenberg together!
Step #1
So, you use Gutenberg for the first time and have no posts yet. Then add a new post (or open one of your oldies).
On the right, you’ll see the sidebar. It’s packed with lots of features to let you set post privacy, delete the post, choose categories and tags, add featured an image, decide to show or not show comments, and far more.
Step #2
Work with blocks - your best friends. As a matter of fact, in Gutenberg Editor, blocks themselves are your diverse content. You can place anything you want just by picking out the tab you need. In this way, you can browse a particular block type, then add another one, and so on.
They can be very different:
- Paragraphs
- Headings
- Block quotes
- Images and galleries
- Lists
- Embedded media
- Buttons
- Tables
How to Convert Your Current WP Posts to Gutenberg Blocks
Feeling unsure about updating WordPress? A bit stressed out thinking of losing your actual posts. Then, dedicate a few minutes and we’ll guide you on how to convert your current posts to Gutenberg, step by step!
Step #1
In the Classic Block menu, hover over the three dots to view “More Options.” Click on the “Convert to Blocks” and wait for a little.
Step #2
After WordPress has finished the conversion, you’ll gain a possibility to view each block. For example, each paragraph of your text should be represented in a paragraph block, each image - in an image block, and so on.
Ready! That’s how you’re supposed to do it, literally with just a few clicks.
How to Create a Custom Gutenberg Block in WP
WordPress CMS is supplied with numbers of handy blocks that are also irreplaceable while operating content. Still, the usage possibilities are unbounded, which means you can create your own unique blocks. Let’s find the answer on how to make custom blocks using Gutenberg step by step!
Step #1. To Start...
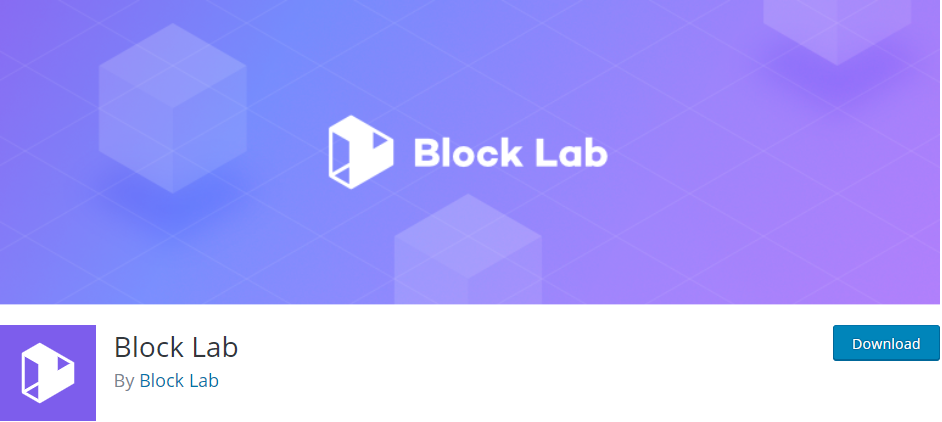
First of all, download Block Lab for FREE. This plugin really keeps pace with the idea of representing content in blocks, especially custom blocks up to your own requirements.
Of course, don’t forget to activate Block Lab!
Step #2. Create a New Block
To open Block Lab in your admin panel, click on “Add New” from the left sidebar. Write the name of your new block in the “Enter block name here” textbox.
Find the block “Properties” on the right side of the page. Here, you can select a block category or choose an icon.
In the “Keywords” text field you can mention up to three keywords for your block. That helps to raise its availability for search engine systems. If you don’t feel like doing it, the plugin will manage it automatically.
It’s time to add some fields. There are many different types to choose from. Decide what your block is missing, like text, URL, numbers, images, testimonials, email, and more. Then click on the “+ Add Field” button.
It also provides the field with varied options, like:
- Field Label
- Field Name
- Field Type
- Field Location
- Help Text
If you want to change the order of your block fields, find the hamburger icon (on the left side of each field label). Using it you can drag any field.
To edit or remove a field, hover your mouse over the field label to get the edit and delete options.
As soon as you’re done, choose the publish button to save your custom Gutenberg block. You’ll always find it on the right side of the page.
Step #3. Make a Block Template
On this step, your freshly baked custom block still doesn’t work. That’s why you need to create a block template named block-testimonials.php and insert it into your current theme folder. It’s important for adjusting the collaboration of the plugin and the new block. Block Lab displays your block fields and different content in Gutenberg editor.
You can’t omit this step, as the error “Template file blocks/block-testimonials.php not found” will be displayed immediately.
Let’s start!
To begin, create a folder on your desktop. Call it “Blocks” to avoid troubles. In a while, you’ll build a template file inside of this folder to upload it to your current WordPress theme directory.
To create this file, you can use the well-known Notepad.
Don’t forget to use a specific PHP code, every time you add a new field to your custom block:
Now, you can place some HTML tags. For instance, you can wrap the reviewer image URL inside an image tag.
At last, name the file as block-testimonials.php and save it inside the block folder.
Look at an example of a possible final result on this step:

Step #4. Bring Style to Your Custom Block
Grab the code below to style your custom block with the help of CSS! To do the rest of the work, you can use Notepad and fill it with the next code:
.testimonial-block {
 width: 100%;
 margin-bottom: 25px;
}

.testimonial-image {
 float: left;
 width: 25%;
 padding-right: 15px;
}

.testimonial-box {
 float: left;
 width: 75%;
}

.clearfix::after {
 content: "";
 clear: both;
 display: table;
}
To save your result inside the block folder, name it block-testimonials.css.
Step #5. Add the Block Template File to the Theme Folder
So, let’s upload the custom block folder with the template file to the theme folder. For this, using an FTP client, connect to your WordPress website.
Next, find the folder / wp-content / themes /. There open your current theme folder to upload the blocks folder (with the block template file and the CSS file) to your theme directory.
Block Lab Plugin enables users to make specific blogs. You shouldn’t worry if you want to change your actual WP theme for a new one. Just copy the blocks folder to your new theme directory.
Step #6. Crash Test
At the pages section, choose “Add New” to get a new page. Then click on the Add Block (+) to work with the testimonials block. Doing this, you’ll add your new custom block to your page editor.
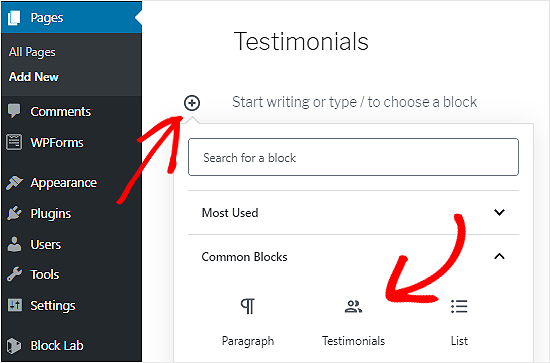
At this stage, you can easily fill your custom block with testimonials. If you need more testimonials, just embed new testimonial blocks.
And, now, preview the page or even publish it! That’s all! You’ve succeeded in creating your own custom block!
If you’re a web developer, without doubts, you can style your own blocks writing code for them (a code that meets your WP theme).
How to Place a Cover Image Block in Gutenberg
For sure, your post articles need catchy representative images. As you’re familiar to the old well-known featured-image option, you might be a little confused working with the new WP editor.
So, to accomplish the aforementioned task you need to use the cover image block. It’s the block for a cover image where optionally you can also add a header. The advantage is that it will be placed over your cover image, such as on a background.
Step #1
In the editor click on the “+” icon and look for “Cover Image.”
Step #2
Then hit on “Enter” to automatically add a new paragraph block. You’ll also see the auto-complete menu where available blocks are listed. Choose the image block and click on “Enter.”
Step #3
Now, to the block, upload an image you prefer to use as your cover. Also, you can choose one from the media library or just drag-and-drop any picture from the web.
Step #4
It’s time to pay attention to the cover image block toolbar. It’s divided into four parts:
- Transform Option
In one click, it allows you to change your current block for another. - Block Alignment Option
It serves to align your cover block to the left, center, or right. - Text Align Option
The same as with the previous option, you can align the heading in the cover image to the left, center, or right. - Cover Image Block Inspector/Sidebar Controls
| Control Option | Using the edit icon control you can change the uploaded cover image for another one |
| Fixed Background | This option enables you to set the background-attachment property to be "fixed" |
| Background Dimness | It’s very helpful when you want to add your title more definition adjusting the overlay opacity/dimness of the background image |
| Additional CSS Class | Right here you can add a CSS class to the block. We’ll also tell you how to do it in detail |
How to Add a Carousel to Blog Posts and Pages with Gutenberg
Building a website on your own is the goal. To facilitate many tasks, several extensions are available to modern users, such as plugins and add-ons.
So, thinking of enhancing your page with carousel gallery? Easy-peasy!
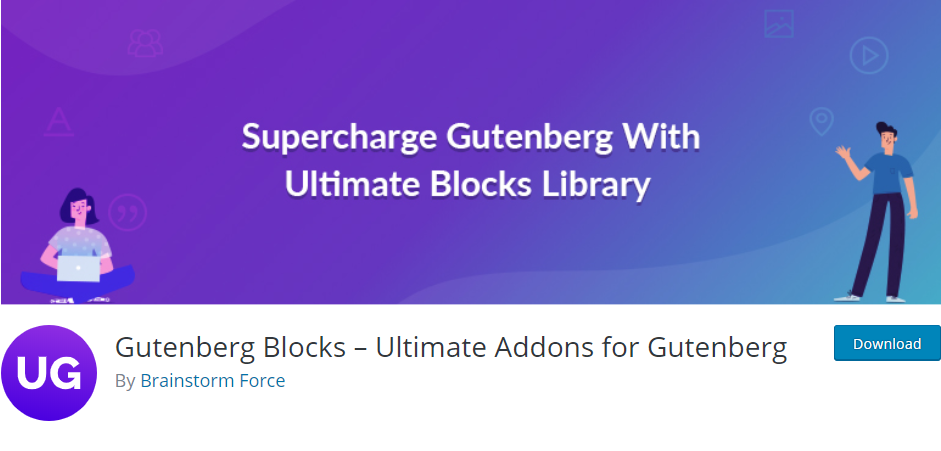
To start, be sure that you’ve already downloaded Gutenberg Blocks. If you haven’t, seize the link for FREE downloading!
Step #1
Add a new block using Gutenberg Editor. Choose previously installed Gutenberg Blocks, like in the example:
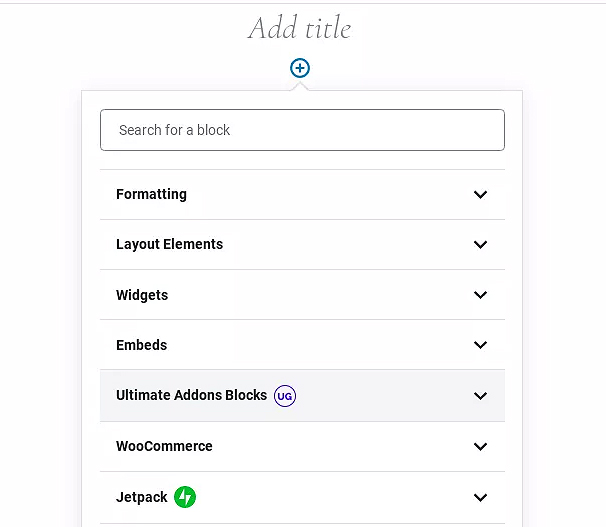
Then open the category section and click on the option called “Post Carousel.” Once you’ve done it, you’ll see a carousel below.
Step #2
Move to the general tab. There are different options for carousel creation. It can be built as a post or pages, tags, and categories.
In this tutorial, we’ll continue working in the post type “Posts.”
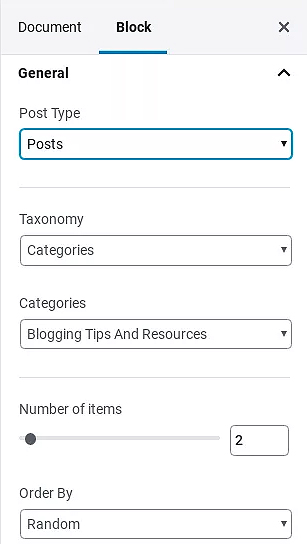
Step #3
To increase or reduce the number of items in your carousel is up to you.
Step #4
Don’t forget to check the order of items in the carousel and set the height for columns.
Step #5
Now, you need to click on the carousel tab to define what a carousel performance you prefer. For this, on the hover select “Autoplay” and customize the speed.
Step #6
Next, click on the image tab to choose and adjust the featured image. Pay attention to its size, position, etc.
Step #7
If you need to add such info as an author, date, comments, and other, go to the content tab.
Step #8
To continue, click on the read more link tab to choose the way to show your URLs. Up to your view, customize the buttons or leave them by default.
Step #9
Next, style your text. For this, click on the typography tab. Here you can edit your heading and pick out font styles for every part of your blog post.
Step #10
The color tab is the next stop. Choose colors for texts and background.
Step #11
You’ve almost finished creating the carousel! Set the spacing of the items within the carousel (in the spacing tab).
That’s all! Enjoy the results!
How to Place an Image to a Paragraph Blog Using Gutenberg
- Decide which image and where you want to insert it.
- Create a new block “Image Block.”
- Then, drag it and drop under the paragraph block you want to add the image before. For this, use the up and down arrows.
- Click the align right icon.
How to Embed a Page Post with Gutenberg
Great news, bloggers! Using Gutenberg Editor you can transform any of your current posts into a page post. Find out how!
As you’ve opened the post you need in Gutenberg, now add a few page breaks to it. For this, go to the blocks tab (the layout elements). There you’ll find page breaks. Uploading a few of them, you’ll get the classic page navigation.
Moreover, the actual idea of using blocks is more advanced than ever before. Now, you can easily drag and drop any paragraph block and change their position. Feel free to move your page breaks.
Cool, isn’t it? No HTML codes are required! Just remind yourself how it was before, as previously in WP, the page breaks could be managed only by HTML comments.
CSS Shapes for Gutenberg Blocks
Let’s try out the easiest way to add CSS shapes to Gutenberg Images Gallery!
Step #1
Create a gallery block and browse all the images you want to see in your gallery.
Step #2
Use the free CSS clip-path maker. Choose what shape meets your requirements and copy its code.
Step #3
Click on the gallery block. In the advanced tab mention the chosen shape, as a CSS class. For example, at https://bennettfeely.com/clippy/ you’ve copied the code for “circle” pick out a circle-gallery.
Step #4
Next, work with WordPress customizer in the “Additional CSS Class.” Paste the copied code with the class selector “circle-gallery.li”.
Your task is to apply the CSS shape to every image in your gallery. Better have a precise look at the example:
.circle-gallery li {
-webkit-clip-path: circle(50% at 50% 50%);
clip-path: circle(50% at 50% 50%);
}
Done!
The Ultimate Products for Gutenberg Editor. Only the Best!
Gutenberry - Clean Blog WordPress Theme for Gutenberg editor

Get acquainted with the new product - Gutenberry. This is the perfect WordPress blog theme for Gutenberg editor. The template has a stylish appearance and powerful functionality. Gutenberry is specifically designed for Gutenberg editor, which is a native WordPress editor. The theme has exceptional compatibility with the editor, thus you'll have a website with high performance and simple usability. The template has five pre-designed home pages, including Aqua, Crystal, Nude, Mauve, and Lavender. Each style has its special attributes, colors, and block arrangement. In this way, you'll customize your blog easily with this responsive and efficient template. What is more, there are six pre-designed blog layouts, which are Classic listing, Classic listing small, Classic listing without sidebar, Classic listing small without sidebar, Small listing grid, and Large listing grid. With the installed ZeGuten plugin, Gutenberry also contains extra widgets to enhance the opportunities of your blog, such as Section, Posts, Pricing Table, Circle Progress, Inline SVG, Banner, Countdown Timer, Animated Box, Progress Bar, Map, and Image Comparison. All the headings are SEO-friendly, and you'll not have problems with setting up the columns. Getting Gutenberry, you receive long-time 24/7 free support, which will make your blogging experience easy and fast. The website using this template and Gutenberg editor will be fast and highly productive, showing great results on Gtmetrix and Google Page Speed. The theme is Retina ready, Ecwid and WPML ready. It is responsive, has the admin panel, sample data installer, visual editor, and optimized source code, along with the dropdown menu, google web fonts, advanced theme options, favicon, and many other features.
Gutenberry will suit any blog for professional and personal usage. Its attractive minimalistic visual design, a great variety of tools for customization, responsiveness, and simple post settings make it the perfect template for your business.
Blocks - Ultimate Page Building Blocks for Gutenberg
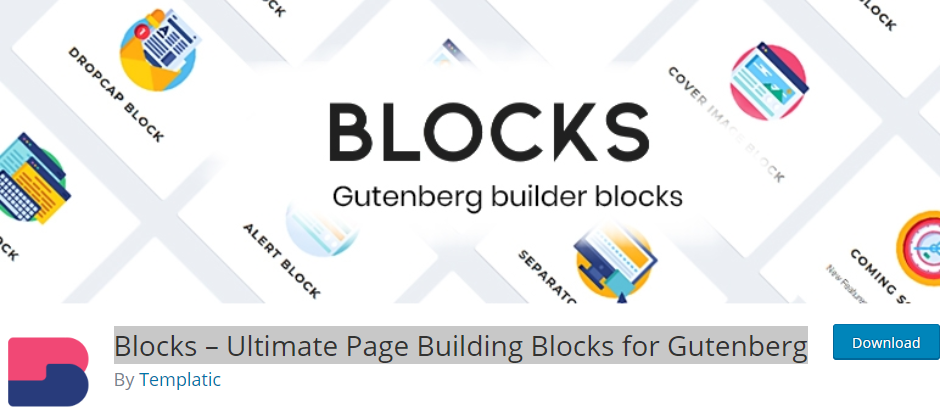
With Blocks Builder, you can easily add and customize content blocks. Moreover, there are lots of ready-to-use social media icons.
Try this handy plugin and create catchy and colorful content sections for your website. It also provides Gutenberg Editor with additional extensions, like special editing for headings and text.
Blocks Builder consists of these blocks:
- Profile Block
- Alert Block
- Drop Cap Block
- Social Media Block
- Separator Block
- Cover Image Block
- Heading Block
- Text Block
- Map Block
- Price Block
- Button Block
- Tweet Block
Gratify - Gutenberg Ready Portfolio WordPress Theme
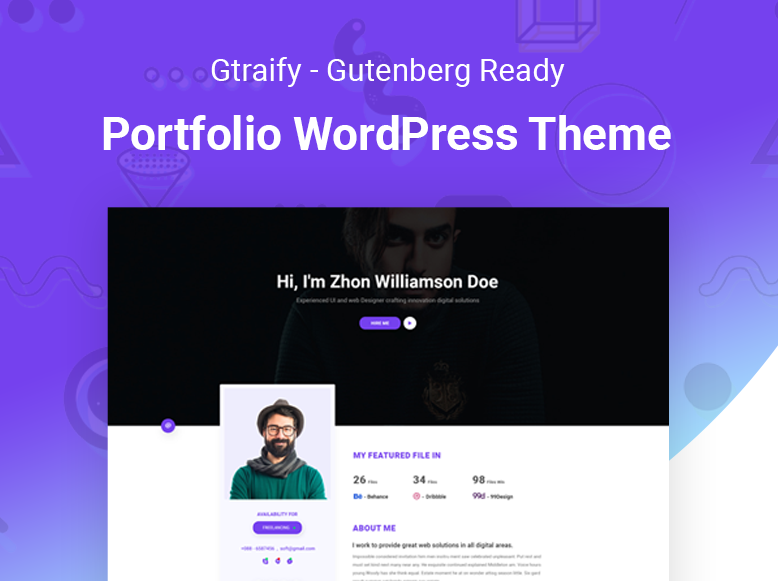
Gratify is a user-friendly WordPress theme that’s fully adjusted for Gutenberg Editor. Moreover, it’s also integrated with Elementor Page Builder.
The main accent in the design of Gravity is dedicated to portfolio websites. If you’re looking for something cool and multifunctional represent your works and creativity, this theme was made just for you. Still, you’re free to customize it to any kind of blogging.
So, Gravity is:
- Hassle-Free
- Mobile-Friendly
- Well-Documented
- Provided with 24/7 Support
- Home and Inner Pages
- Blog Layout
- Extended Portfolio and Gallery Options
- Pricing Table
- Clients Carousel
- Animation Holder
- 2 Header Types
- Optional Logos
Getwid - Free Gutenberg Blocks by MotoPress
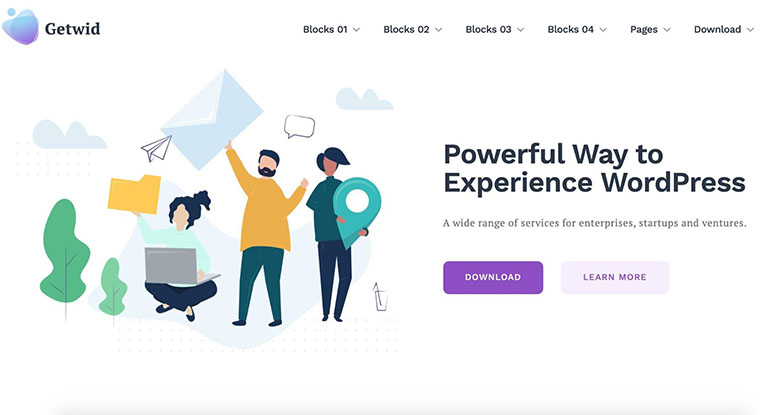
The Getwid plugin offers the largest FREE collection of WordPress blocks for Gutenberg. Namely, you get 40+ multipurpose content elements along with 35+ pre-designed block templates.
Many Getwid users emphasize how powerful and feature-rich the blocks can be when creating content in the Gutenberg editor. Overall, the plugin consists of the most common and needed dynamic & static blocks, namely:
- Container block (fit multiple content types inside one block)
- Banner
- Media & Text Sliders;
- Image Sliders;
- Price Boxes;
- Custom Post Types;
- ...and many more.
Seamless interplay with core blocks and clean code allows the plugin to stand out and remain one of the best FREE Gutenberg solutions in the market.
WooCommerce Blocks - WordPress Plugin

It’s an easy and handy solution for e-commerce pages packed with:
- Attribute Block
- Featured Product Block
- Hand-Picked products Block
- Top Rated Products Block
- Newest Product Block
- On Sale Product Block
- Products by Category Block
Atomic Blocks - Gutenberg Blocks Collection
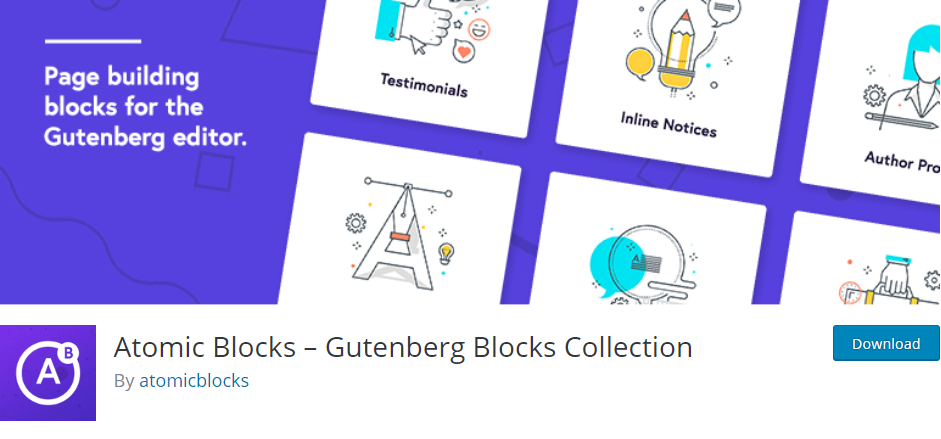
So, these are for you:
- Advanced Columns Block
- Newsletter Block
- Pricing Block
- Post Grid Block
- Testimonial Block
- Call-to-Action Block
- Author Profile Block
- and more
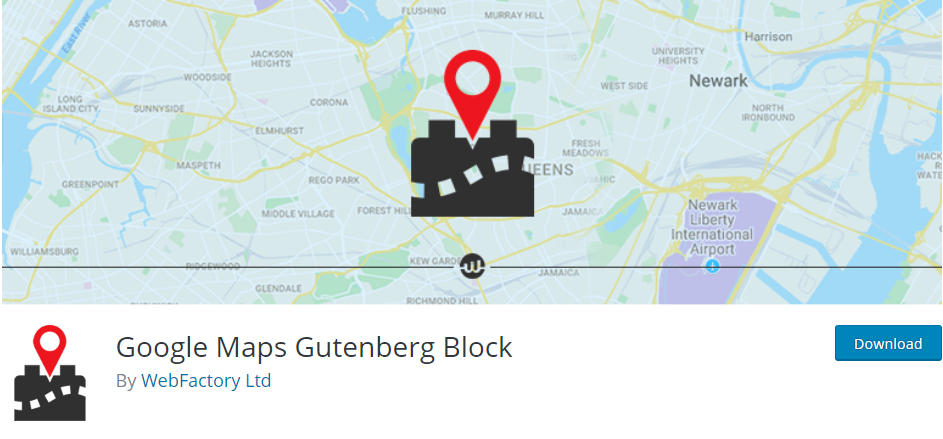
Google Maps Gutenberg Block - WP Plugin
Enginex - Car Repair Gutenberg WordPress Theme
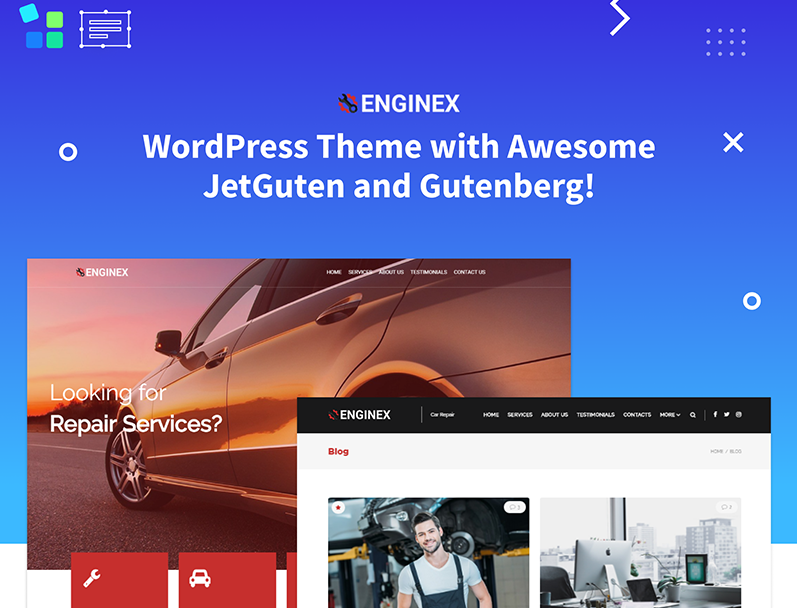
Meet Enginex - a WordPress car repair theme. It’s already synchronized with Gutenberg Editor!
Fully mobile, SEO, and, without doubts, user-friendly, it’s a modern reliable solution for representing your service or product. Try it!
More Features:
- Crossbrowser Compatibility
- 24/7 Technical Support
- Blog and One-Page Templates
- Free Google Fonts
- Social Integration
Gutenberg Manager - WordPress Plugin
Gutenberg + Elementor = Bang!
YES, Gutenberg Editor doesn’t replace Elementor Page Builder! And the truth is found precisely in the way they are named. Use Elementor to build featured WP websites without limits. Elementor is for both simple pages and full-packed powerful WooCommerce platforms. It’s irreplaceable when it comes to creating mock-ups. Plus, modern users are generously provided with the vast choice of classy Elementor themes for all purposes.
As for Gutenberg, it’s the brand-new and innovative tool to create and manage any type of content without coding. No codes! There are only blocks that, as you know, are your content elements. Add a new block, customize it, drag-and-drop, or replace it for another one. It’s fully user-friendly, and without a doubt easier than dealing with codes. Now, every blogger, photographer, and anyone else can “decorate” their pages in pretty much the same way they edit their accounts on social networks. With Gutenberg, WordPress content management system has become closer to users that are not web developers but only website owners.
For example, due to Elementor and moreover with some ready-to-use WP theme, you can build any website you want. Just by yourself, without the help of a huge team of professionals! Comparing to the previous user experience, this kind of website creating is very, very quick. Still, you have to follow the documentation of your theme and spend some time to launch a new website. But when you’re done with it and can enjoy your website, what’s next? What do you do with sites that don’t contain static content but those that are always refreshed? To save your time, to reduce using shortcodes, although they are clean and handy (no jokes!) WP Gutenberg Editor was carefully invented! So, add new posts, go creative with galleries and far more with the help of this WordPress product.
Wanna add Elementor templates to Gutenberg and don’t know how?
There is one solution that enables you to embed any Elementor theme on Gutenberg. It is Elementor Blocks for Gutenberg. Download it FREE to start Elementor+Gutenberg integration! This plugin allows you to enhance Gutenberg with the extended potential of Elementor.
- the possibility to insert any Elementor block or template at any inch of Gutenberg Editor
- the preview of an Elementor theme in Gutenberg
- access to customize any Elementor theme without closing Gutenberg
- 300+ pre-made blocks and 100+ pre-made pages
- unlimited designs for Elementor blocks
- multilingual RTL-aware
One of the most common situations, when you need to mix Gutenberg and Elementor, is uploading a pre-made theme in Elementor mock-up.
For example, with Elementor you’ve made a cool call-to-action box. Now, you want to add it to your post that you edit using Gutenberg.
Step #1
Download and install Elementor Blocks for Gutenberg.
Step #2
In Gutenberg Editor add the element block to your current post.
Step #3
Pick out the Elementor template (your call-to-action box) and it will be automatically available in Gutenberg.
In case you want to add something, click on the tab “Edit Template with Elementor.”
Shazam! You’ve done it!
Read Also
Select the Perfect Gutenberg Themes for WordPress 5.0
25+ Pieces of Advice to Help You Handle Gutenberg’s Predicament [WP Experts Advice Column]
The Best Fashion E-commerce Themes for WordPress 2019
Easy As LEGO: Detailed Guide To Free WordPress Website Creation
Don’t miss out these all-time favourites
- The best hosting for a WordPress website. Tap our link to get the best price on the market with 82% off. If HostPapa didn’t impress you check out other alternatives.
- Website Installation service - to get your template up and running within just 6 hours without hassle. No minute is wasted and the work is going.
- ONE Membership - to download unlimited number of WordPress themes, plugins, ppt and other products within one license. Since bigger is always better.
- Ready-to-Use Website service is the ultimate solution that includes full template installation & configuration, content integration, implementation of must-have plugins, security features and Extended on-page SEO optimization. A team of developers will do all the work for you.
- Must-Have WordPress Plugins - to get the most essential plugins for your website in one bundle. All plugins will be installed, activated and checked for proper functioning.
- Finest Stock Images for Websites - to create amazing visuals. You’ll get access to Depositphotos.com to choose 15 images with unlimited topic and size selection.
- SSL Certificate Creation service - to get the absolute trust of your website visitors. Comodo Certificate is the most reliable https protocol that ensures users data safety against cyber attacks.
- Website speed optimization service - to increase UX of your site and get a better Google PageSpeed score.

Get more to your email
Subscribe to our newsletter and access exclusive content and offers available only to MonsterPost subscribers.

Leave a Reply
You must be logged in to post a comment.