- Web templates
- E-commerce Templates
- CMS & Blog Templates
- Facebook Templates
- Website Builders
CherryFramework 3.x. How to add a logo to the footer
May 20, 2016
Hello! This video tutorial shows how to add a logo to the footer in Cherry Framework 3 templates.
It may happen that there is no logo in the footer of your site based on one of our WordPress themes and you want to add it:
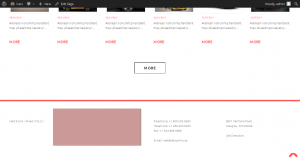
Let’s learn how to do that.
The tutorial assumes you are already logged in to your WordPress dashboard.
There is already a logo in the header of your site so you may simply use its code to have the logo displayed in the footer.
-
Navigate to Appearance ->Editor and click on the wrapper-header.php file title at the right hand side:
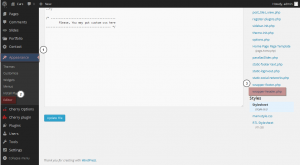
-
At the appeared file editing interface look for the following code:
<?php get_template_part("static/static-logo"); ?> -
Highlight the code and copy it to the clipboard:
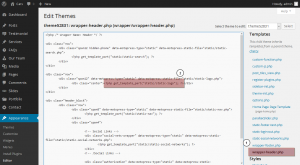
Now that we have a code for the logo copied let’s add it to the footer.
-
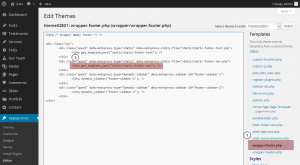
Click on the wrapper-footer.php file title at the left to open the file for editing:
-
Locate the following line of code there:
<?php get_template_part("static/static-footer-nav"); ?>The code reflects the navigation menu which is not used in the footer in our case – there is an empty space in footer area where we can add the logo to.
-
Replace the navigation menu reference code with the previously copied logo code so that it looks like the following:
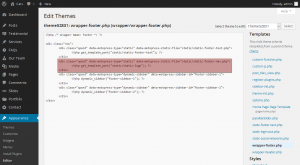
-
Scroll down and click the “Update File” button to apply changes:
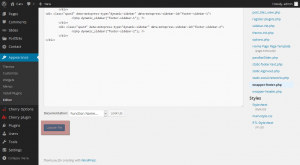
-
Navigate back to your site front-end and refresh the page.
As you can see, the logo has been successfully added to the footer:

Mind that you may need to alter some styles in order to make the logo appear per your desire.
You may also easily change the position of the logo by replacing respective reference codes with each other in wrapper-footer.php file:
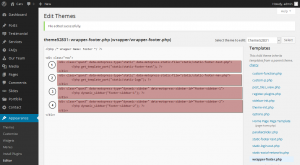
This is the end of the tutorial. We have learned how to add a logo to the footer in your Cherry Framework 3 template.
Feel free to check the detailed video tutorial below:
CherryFramework 3.x. How to add a logo to the footer


.jpg)
