30+ Excellent Adobe Lightroom Tutorials & Tips for Beginners and Up

Intro
When it comes to getting stunning photos, taking a photo is just the initial step. Adobe Photoshop Lightroom is one of the most powerful tools for a modern photographer. This program allows you to work with your photo album in a convenient form. It provides awesome editing capabilities for a single photo as well as for a set of images. It can also share edited images on social networks. In fact, Lightroom was developed to help you do just three main tasks: sort your photos, post-process them and export them. One of the most interesting and even somewhat unique values of this program is that it saves the original image because all stages of editing are stored in its own database.
Photographers all over the world find this program rather convenient in terms of organizing and managing photos effectively. For instance, if you take photos on a regular basis, your hard drive will get overloaded with the number of images you save. Lightroom’s library is a place where your photos live so you can find them in a moment when you are searching for something specific.
Lightroom post-processing options allow you to edit brightness, contrast, color, sharpness, and many other settings. To add more, you will have the ability to apply local edits - altering certain parts of the photo selectively, while leaving the rest untouched. Despite the fact that Adobe Photoshop Lightroom is a very powerful program and it is primarily used by professional photographers, novice amateur photographers will need very little time to learn how to use this program to post-process their own photos.
Let’s check what modules the program includes:
- The library allows you to organize your photos into folders effectively.
- Develop category offers numerous editing capabilities.
- Map module lets you tag the location where you took the photos.
- Book makes it possible to create a physical book and adjust it to your liking.
- Slideshow allows you to create a slideshow with your images.
- The print module helps you create layouts and presets and finalize the images.
- Web category lets you preview, save, or post your collection of work in a web gallery.
I would like to share with you a few outstanding Adobe Photoshop Lightroom tutorials and tips to be more productive as a photographer and retoucher.
Review of Adobe Lightroom Tutorials & Tips
Create HDR Effects in Lightroom

Add HDR effect to your photos without having HDR software. It will take a few moments and adjustments to reduce the noise and sharpen every pixel. To achieve this effect, you should go to the Develop module and adjust such settings as contrast, highlights, shadows, whites, and blacks. You will form a foundation of the HDR effect by expanding the dynamic range of the image. Next, changing clarity and vibrancy will create the HDR-like effect.
Watch this tutorial below to get step-by-step instructions:
Create a Lomo Effect in Adobe Lightroom

To create a film or vintage effect on your photos, you should play with such parameters as exposure, contrast, whites, and blacks. Also, think about decreasing the vibrancy and saturation to take away some of the colors. If you are looking for a lavender lomo look, you can simply increase the hue and set the saturation to 50. Grain settings can be adjusted to your preferences. These and other useful tips can be found in the tutorial article. Another example is available in the video below.
Create a Cinematic Effect in Lightroom

Experiment with the contrast, brightness, and darkness, and desaturate the photo to a small point to achieve a cinematic effect in Lightroom. The Develop module will allow you to adjust contrast, highlights, and other settings. Try the suggestions from the video below and observe the result.
Create a Dramatic Portrait Effect in Lightroom
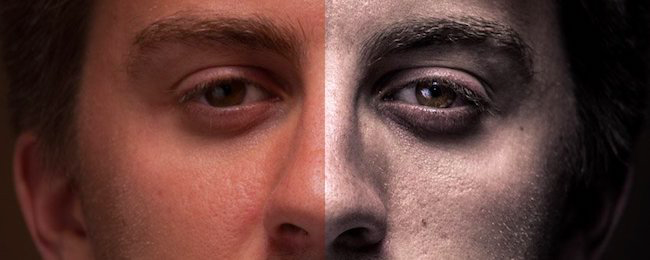
High-contrast, slightly bleached portraits have become incredibly popular these days. A number of external modules are available for creating such images, and in addition, a similar effect can be achieved in Lightroom. Adjust the contract settings to turn something plain into something powerful, dramatic, and industrial. Clarity slider, vibrancy, saturation, and shadows sliders should be adjusted to keep the harsh contrast. You will find more details in the video tutorial below.
Misty Grove Lightroom Preset
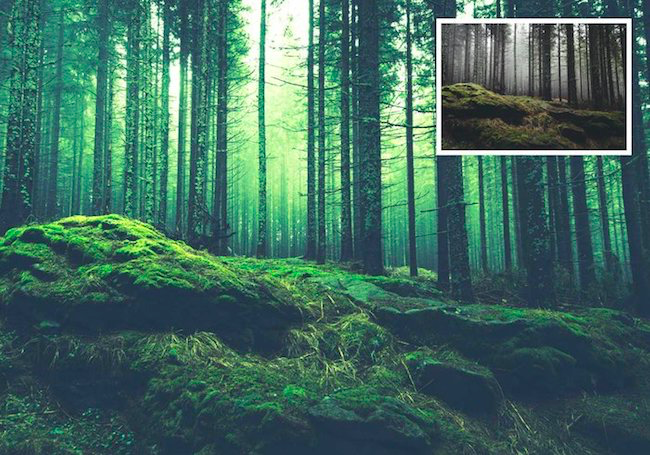
Lightroom preset is a file with already adjusted settings (white balance, brightness, shadows, exposure and any other). These specified parameters can be copied and applied to the post-processing of your photo. You do not have to spend time on adjusting each and every parameter every time - you can just use a ready-made preset.
Download this particular preset to enhance the green hues in your photos.
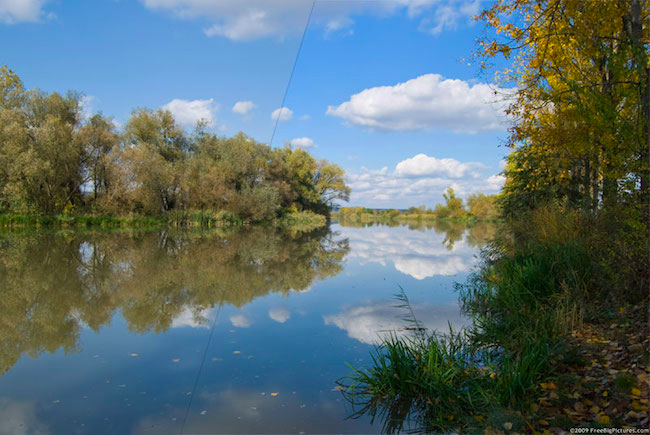
Autumn Sunlight Lightroom Preset
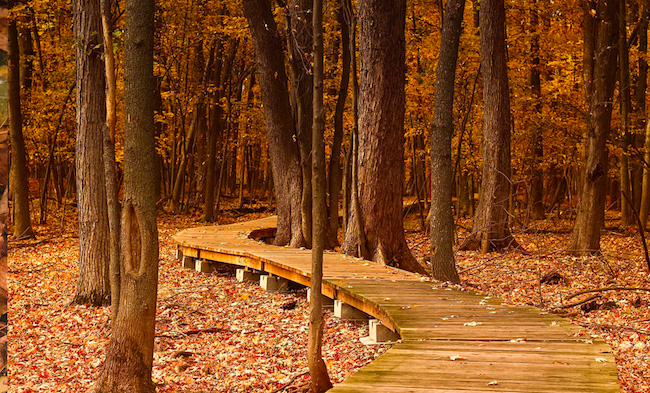
Download this preset to add a warm autumn tone to your images and compliment reds, browns, and other autumn colors.
Also, you are welcome to check out 150 Premium Autumn Lightroom Presets to turn a simple picture into a masterpiece.
How to Create and Save Presets in the Develop Module
Every photographer has his own style to post-process his photos. You can easily create a preset for each profile that you regularly use. This process will save you time and energy while editing. First of all, you need to make some edits to a photo. Next, go to the ‘Develop Preset’ panel and choose ‘Create New Preset’ icon (+). This will bring up the ‘New Develop Preset’ window. Give the Preset a name and select a folder to save it in. Isn’t that easy? More details are available in the tutorial article.

Photo Editing in Lightroom 101
Most beginning photographers find their shots rather dull. In fact, each and every image we see online has been processed appropriately. The Lightroom 101 series familiarizes you with Adobe Lightroom and teaches exactly what is needed to start using this software. Moreover, you will get a workflow that you can easily use to make your photos look great. This tutorial is a perfect solution for beginners to master their Adobe Lightroom skills. Take a look at episode 1 of Lightroom 101 to get an idea of what to expect.
Lens Corrections in Lightroom 5
Play with the Upright and Transform controls to edit some issues which occur in pre-production. You can easily change the perspective on panoramas or extreme angles of a photo. You just need to open a photo in the Develop module and adjust the Upright options in the Transform panel. Then, select the Constrain Crop option to automatically crop the white areas of the photo according to the original dimensions.
New Radial Filter Tool in Adobe Photoshop Lightroom 5
Adobe Photoshop Lightroom’s Radial Filter is one of the most powerful tools and a great way to keep your viewer’s attention focused on the particular element in your composition. Off-center vignetting, adding highlights and brightness to some subjects, and achieving more dynamic results are possible with the Radial Filter. Play around with the tool and create your own ways to highlight an element on your photo. However, you can always utilize the Lightroom’s global image enhancement controls to improve the overall image before using tools like the Radial Filter.
How to Use Lightroom’s Graduated Filter Tool
The graduated filter in Lightroom is a highly powerful tool to make a great variety of creative edits to your images. The Graduated filter icon is located underneath the Histogram. Its panel shows up beneath, revealing the sliders that you can adjust. Hold the left mouse button down and drag the mouse across the image to place the Graduated filter. Next, drag the pin to position the Graduated Filter where you need to make the adjustments. Do not limit your imagination to make skies darker, adjust contrast and clarity, adjust white balance, darken edges of your image, add a color wash, etc.
How to Crop and Straighten in Lightroom
Sometimes cropping and straightening is just necessary to beautify your image. Whether you are working on the right composition of your image, removing some unnecessary subjects, or achieving a specific size, you will definitely find this tutorial helpful. You can use the tool in the Develop module by selecting the crop tool in the toolbar. But there is a much faster way - you can use the keyboard shortcut “R” when viewing a photo in edit/library modes. Watch the video to the end to learn more useful tips.
Edit a Sunset Landscape Photo in Lightroom
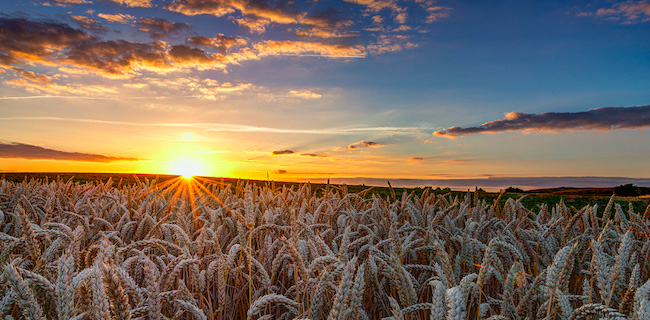
We all admire beautiful sunsets, however not all the sunset photos we take are perfect. We want them to be either brighter or darker. It does not matter if you are an amateur or professional photographer; our photos are not ideal and require even minor post-processing. This video tutorial will show you a few simple instructions on how to edit your sunset image from scratch. Follow the steps suggested getting a few retouching tips.
1200+ Professional Lightroom Presets are available to simplify your life and process beautiful landscape photos.
Color Grade Landscape Photos in Lightroom
Our photos of nature do not always look like we want them to be. Split toning and tone curves in Lightroom can improve landscape and nature photos with a few clicks. You might be surprised but Lightroom offers a very simple and fast process while adjusting such parameters as Clarity, Graduated Filter, Curves, etc. The edits will take less than five minutes of your time to enhance landscape photographs. Enjoy!
Spot Removal Basics in Adobe Photoshop Lightroom
Whether you need to remove some spots from the face of a portrait or other unwanted small details present in an image (people, overhead electrical wiring, etc.), you can easily use the Spot Removal tool in Lightroom. Check out the tutorial to learn which keyboard shortcuts to use to access the tool and how to do basic customizations to make the tool fit your needs.
How to Easily Boost a Blue Sky in Lightroom
Quite often the sky, even on a sunny day, looks quite pale in a photo. While post-processing landscape photos we all want to enhance the sky giving it a little more life. This tutorial will help you master the skills needed to get a bright blue color like the summer sky. Boost a blue sky as an important element in most nature photos.
Important Edits in Lightroom’s Develop Module
If you have not worked with Lightroom before, you may find the Develop module rather confusing. Do not worry! Lightroom offers tons of various options to customize your image with just a few clicks. To start, navigate to the Library module and choose the photo you want to process. Click on the Develop module or just press D on the keyboard to open the image in the Develop module. The right-hand panels contain most of the tools that Lightroom has for processing raw files.
Create a High-Contrast Black & White Effect in Lightroom
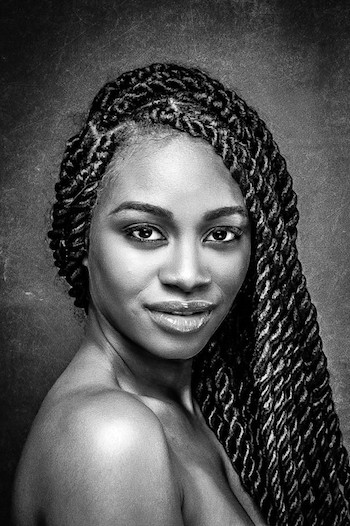
This is a great topic for those who want to create high contrast black & white effects on a photo. With a few steps in the Basic section of the Develop Module and adjusting exposure, contrast, highlights, shadows, whites, blacks, and clarity you are going to achieve the desired effect. The setting amounts may differ to satisfy your particular needs. Learn more how to create eye-catching images!
Create an Aged Matte Black & White Effect in Lightroom
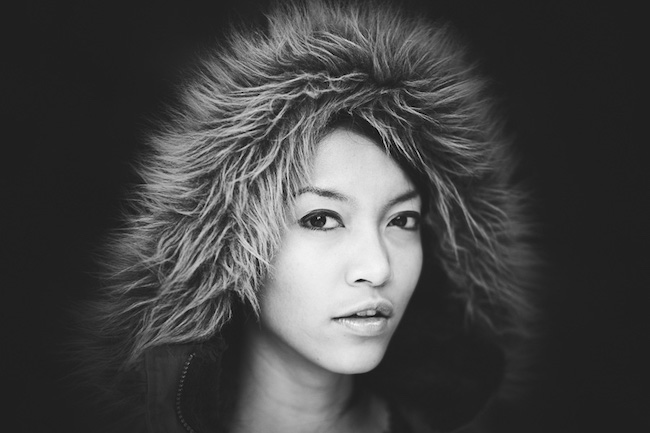
Add a matte effect to black & white photos to wow your viewers. This is another great technique to turn your color photos to effective black & white ones. Follow these easy instructions and enjoy your end result.
Create a Grainy Matte Effect in Lightroom
It will take just a few steps to create a stylish film-like appearance in a photo. Please note that the parameters of your settings and adjustments may vary. It depends on the photo you are editing. Pay attention to the work on the tone curve, and then edit the highlights, shadows, blacks, clarity, saturation, and grain.
An example of photo processing and specific settings is here:
Create a Nice Haze Effect in Lightroom

Add a dreamy look to your landscape shots and portraits. The process is as simple as 1-2-3. In the “Basic” section you need to reduce such settings as contrast, clarity, vibrance, and saturation. Then, adjust the curve to get more haze effect. In “Split Toning” alter highlights, saturation, and shadows. That’s it!
One more example of another photo processing tip can be checked here:
Build a Film Style Look in Lightroom

Many photographers and amateurs adore old school and film-style looks. Do not skip this tutorial to get a few tips on how to create a cinematic effect on a photo shoot. First, you need to define the film look you want, then make a few color adjustments, play with grain characteristics, and experiment with curve combinations. You will definitely like the end result.
5,900+ Premium Lightroom Presets are available to save your time and create awesome effects.
HDR Merge and Panorama Merge in Lightroom 6/CC
You are lucky to learn a few new features which are a great asset to post-processing natural landscape photos. In the tutorial, Simon Plant is sharing tips on how to cope with the tasks of HDR and panorama merges without leaving the program. The following process will simplify your photo editing and save your time. Enjoy!
Desaturate Colors in Lightroom
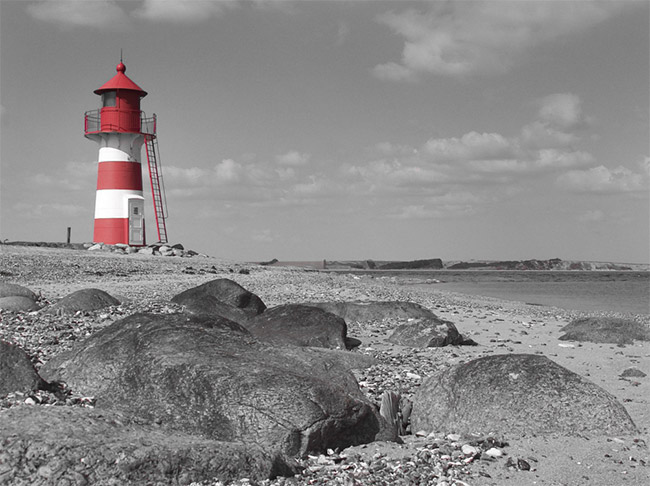
Familiarize yourself with a simple technique on how to desaturate colors in your photo. It will take a few seconds to go to the HSL settings in Lightroom’s develop module and move the saturation sliders of all but one color to -100. You will just keep one color you want to focus the viewer’s attention on.
Straighten and Color Correct Architectural Photography in Lightroom 5
Straightening crooked photos has never been so easy and exciting. Watch the video tutorial below to master your Lightroom skills on how to color correct and straighten an architectural image in just a few minutes.
Avoid Clipping
Clipping your highlights and shadows can create a loss of detail in the shadows or highlights. Be attentive not to mess up your image. Fortunately, Lightroom shows you clipping warnings to stop you when necessary. Watch the tutorial and learn how to recover the missing details.
Create a Light Leak Effect in Lightroom
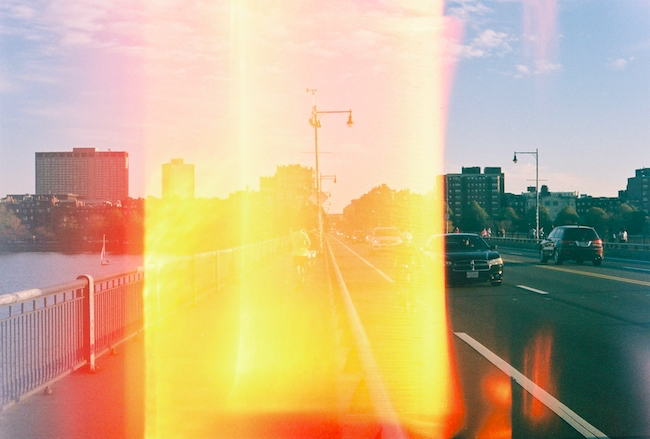
Looking for a vintage and intriguing feel for your photos? A light leak effect is exactly what you need. Check out a quick video tutorial to learn how to add a light leak effect within 30 seconds.
How to Tether a Camera in Lightroom
If you want to learn how to attach your camera to Lightroom during photo shooting, make sure to check out this tutorial from Colin Smith. This is a great option for checking images on a big screen while shooting. When you are taking a photo, the digital copy is in your camera and at the same time, it is getting transferred through a cable to Lightroom. You will be surprised with the flexibility and convenience this offers.
How to Use Split Toning in Lightroom
Get a few useful tips on how to use split toning features to get the most of Lightroom. Play with the five sliders the Split Toning section includes. Try the suggestions from the video to experiment with the highlights, shadows, and balance to enhance your images.
Fix Your Boring Photo in Lightroom
Today it is quick and easy to fix your dull photo with a few adjustments in Lightroom. This tutorial is helpful for beginners as well as for experienced users. Simple edits like cropping and changing parameters of shadows and highlights will turn your ordinary shot into a masterpiece.
Adjust Black Levels in Lightroom to Create More Balanced Photographs
Watch this video tutorial to get some knowledge on innovative techniques with black and white levels. You will learn what values should be controlled and how to use the histogram properly to achieve more balanced works. After the lesson, your viewers will be able to catch each and every small detail, which can barely be noticed in the original image.
What Do Your Color Labels Mean?
Color Labels is one of the great tools which Lightroom proudly offers. You will be able to choose which color to assign - yellow, red, blue, purple, or green. The tool is extremely convenient when you need to mark some tasks, output options, owners of the photos, ratings, etc. Do not miss the opportunity to simplify your workflow with this simple feature!
The Power of the Painter Tool
Not every photographer is aware of this hidden tool. However, it is a rather powerful feature and helpful while assigning color labels, metadata presets, adding keywords, and ratings. Take a moment to get a few tips on how to use it and what benefits you can get.
How Do I Move Lightroom to a New Computer?
From time to time we update our computers. Either it is the installation of a new hard drive, reinstallation of the operating system, or a complete replacement of the computer itself. You will need the follow the specific instructions on how to reinstall Lightroom. Try these simple steps to transfer your photos, settings, presets, plugins, and Lightroom catalogue. After you follow the instructions once, you will be rather knowledgeable to help your friends and relatives when they need it.
The Triangle of Color Adjustments in Lightroom
Check out this tutorial article to learn more about saturation, exposure, and white balance which form the triangle of color adjustments in Lightroom. I am sure these color adjustment tips and tricks will be useful to create photo masterpieces.
Improve Your Photos with the Clarity Slider in Lightroom
Learn more about Clarity Slider as one of the most powerful tools in Lightroom. Experiment with Clarity Slider to add more impact to your image and enhance a photograph. Textures, effects, applications, and numerous examples are provided to prove how powerful the tool really is.
Final Word
Adobe Lightroom was designed to facilitate and automate the processing of photos. Spend more time being creative rather than long and exhausting hours with photo editing. No doubt, you will catch something new and interesting about Lightroom software, its hidden features, and powerful techniques. You are welcome to share your own Lightroom tips and tricks in the comments below. Speed up your editing and be more productive!
Read Also
20 Free Adobe Lightroom Autumn Presets for Photographers
100 Free Photoshop Video Tutorials
100 Amazing Free Photoshop Actions
7 Awesome Free Resources Every Designer Should Use
15 Most Eloquent Remarks about Photography to Inspire the Artist Inside You

A freelance copywriter, who has a great interest in writing, content-related stuff, traveling, and photography. She is always mastering her writing skills to synthesize the essence of any business ideology in an easy-to-use nugget of words to get people to feel, think, or respond. Instagram.
Get more to your email
Subscribe to our newsletter and access exclusive content and offers available only to MonsterPost subscribers.

Leave a Reply
You must be logged in to post a comment.