


- Web templates
- E-commerce Templates
- CMS & Blog Templates
- Facebook Templates
- Website Builders
FAQs
General Tutorials
Featured templates
MonsterONE Subscrioption


This tutorial is going to show you how to find and modify php.ini file on localhost.
How to modify php.ini on localhostFirst of all, you need to turn on the software. In this case, it’s WAMP.
Open your favorite code editor to create a .php file. In this case, we use Dreamweaver. Add this piece of code to the new file:
<?php phpinfo(); ?>
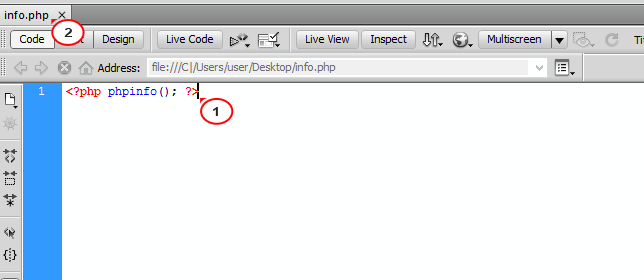
Save the file to your computer. You can name it info.php.
Open the local Disk. Locate wamp folder, then open www folder. Copy this info.php file to wamp/www folder.
Note: If you have another software, the location can be different:

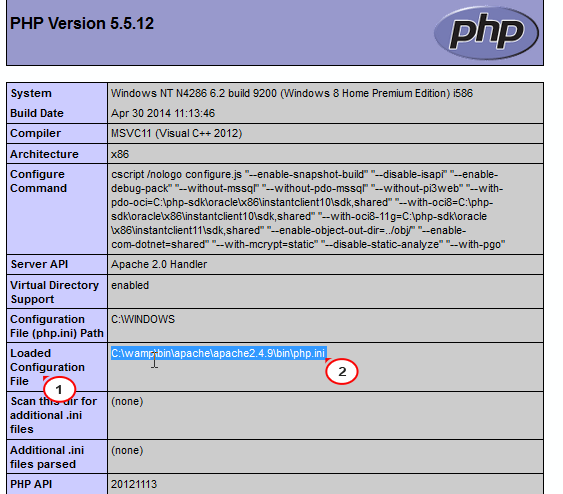
Open the browser. Type localhost/info.php in the address bar. You will see a table of available settings.
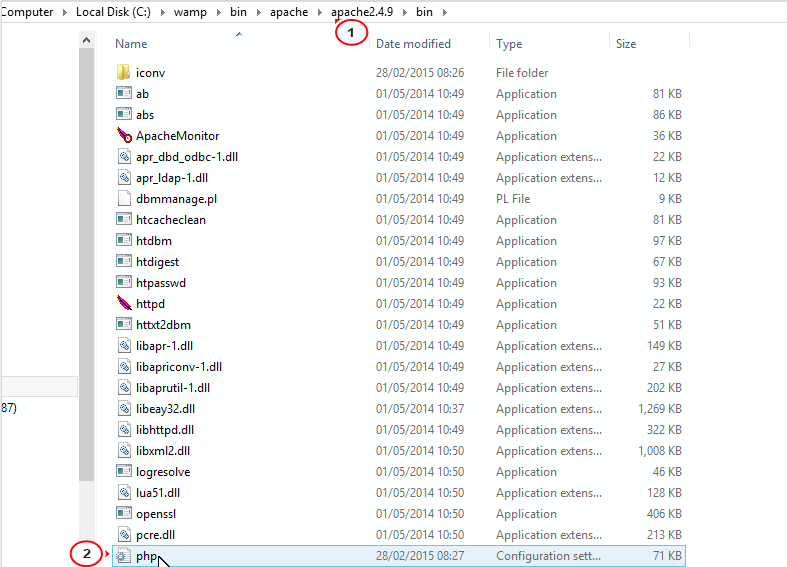
Try to search with php.ini as the keyword. In Loaded Configuration File field, you will see the path to php.ini file. In this case, it’s C:\wamp\bin\apache\apache2.4.9\bin\php.ini. Just follow the path to find the file:
Here is the php.ini file that you need to edit. Just open and edit the file, then save it:
Feel free to check the detailed video tutorial below:
How to modify php.ini on localhost.jpg)
