


- Web templates
- E-commerce Templates
- CMS & Blog Templates
- Facebook Templates
- Website Builders
FAQs
General Tutorials
Featured templates
MonsterONE Subscrioption


This tutorial shows how to add a custom font in WordPress.
WordPress. How to add a custom font
.jpg)
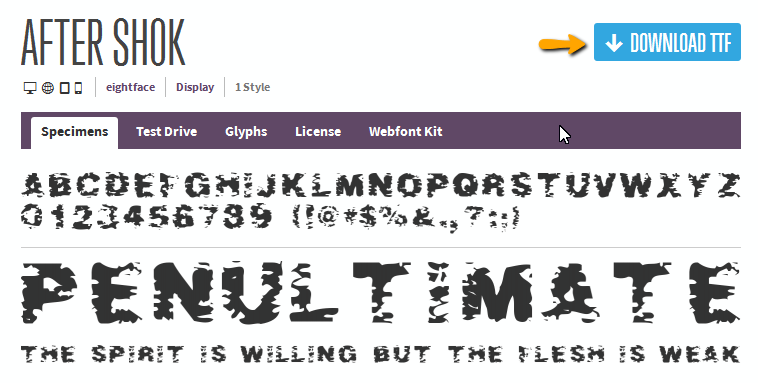
In case you need to add a custom font to your WordPress website, you can search for the website to download the font you need. For example, this website: http://www.fontsquirrel.com.
Visit http://www.fontsquirrel.com. site, there is a ‘Font Filter‘, choose ‘Webfont‘ there:

Choose the font you want to add, and download it:
Log into your server through FTP or File manager, follow this path ‘wp-content/themes/themeXXXX‘ and create a new folder ‘fonts’. Upload the font you have downloaded to this folder, then extract this file(s). You can remove the original .zip file:
![]()
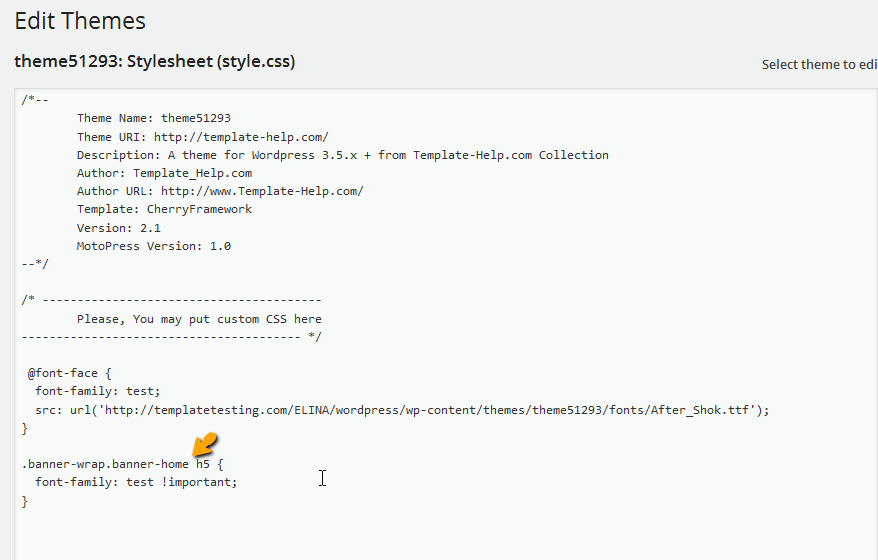
Log into WordPress Admin Panel. Go to Appearance -> Editor, open ‘style.css‘ file under themeXXXX theme:

Add the below codes to this ‘style.css‘ file:
  @font-face {
  font-family: fontname;
  src: url('link');
}
*with: fontname = the name you will create for the new custom font (any name).
link = the direct link of this font file that you uploaded to the server. (site url + folder path + font file name):

Copy the above code to the next line of ‘style.css‘ file and remove the second line with ‘src‘ from the code, then add !important tag after the font name:

You can find the CSS class for the specific text by using the developer tool:

Replace @font-face with the CSS class (CSS selector) that you have found with developer tool. Then click ‘Upload File‘:
Refresh your site to see the new custom font showing up.
Feel free to check the detailed video tutorial below:
