


- Web templates
- E-commerce Templates
- CMS & Blog Templates
- Facebook Templates
- Website Builders
FAQs
General Tutorials
Featured templates
MonsterONE Subscrioption


This tutorial shows how to add custom content to header/footer in WordPress templates.
WordPress. How to add custom content to header/footer
.jpg)
Let’s add custom content below the footer copyright:
Inspect footer using Firebug developer tool. We can see that data is being called from wrapper/wrapper-footer.php file. Check if this file is available inside wp-content\themes\themeXXXX\wrapper folder. You should copy it from wp-content\themes\CherryFremework\wrapper folder to your wp-content\themes\themeXXXX\wrapper folder in case such file is not available in your theme (XXXX is theme number). Please check video version of tutorial for more detailed information.

Open themeXXXX\wrapper\wrapper-footer.php in your editor. Change span of copyright text to span12 (in our case copyright text has span6). Add divs with desired span class. We are going to add several sections with different spans. Please note that we have added divs with custom classes inside span. In this case we will be able to assign specific styles for each section. Our custom text will be placed below copyright text. Save changes and upload the modified file:

Refresh your page. We have added custom content. Now we can assign specific styles for each section (as we have added divs with classes like foottext1, foottext2, foottext3). Add class name and assign specific styles. We will do that in firebug first. After that we will add styles to custom css section:
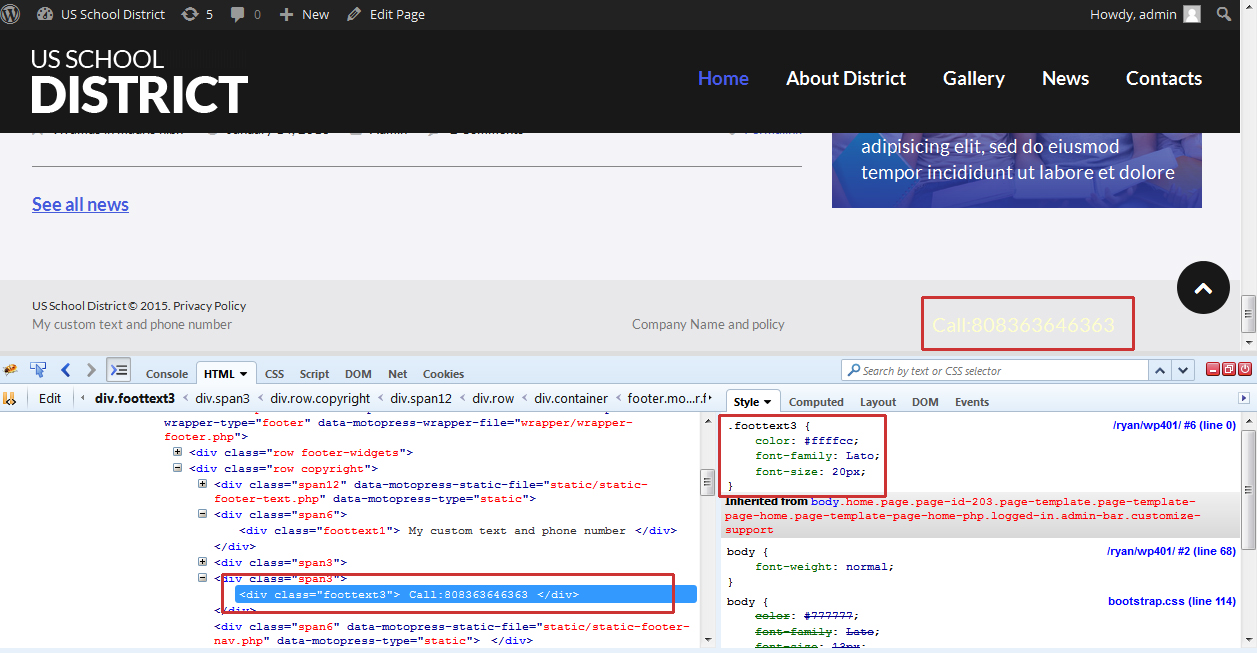
Add styles to Cherry options – Custom css section or directly to style.css file. Be sure to back up this code and store on cloud or storage in case you add styles to custom css section. Custom css code may not be saved after performing CherryFramework update. Perform the same changes for the rest sections. Be sure to specify appropriate class name. We have added styles for two sections in the footer. Save changes:

Refresh the page. We have added custom content to footer and added appropriate styles. Please note that you may need to add styles using media queries in order to assign specific styles for particular screen size:

Let’s add custom content to the header.
Inspect footer using Firebug developer tool. We can see that data is being called from wrapper/wrapper-header.php file. Check if this file is available inside wp-content\themes\themeXXXX\wrapper folder. You should copy it from wp-content\themes\CherryFremework\wrapper folder to your wp-content\themes\themeXXXX\wrapper folder in case such file is not available in your theme (XXXX is theme number). Please check video version of tutorial for more detailed information.

Open wp-content\themes\themeXXXX\wrapper\wrapper-header.php file in your editor. We should adjust spans for logo and menu as well as add div with appropriate span for our custom content. Modified file should look like on the screenshot below. Save changes and upload the modified file:

Refresh the page. We have added custom content to header. Be sure to add specific styles to appropriate class. Please note that you may need to add styles using media queries in order to assign specific styles for particular screen size:

Feel free to check the detailed video tutorial below:
