


- Web templates
- E-commerce Templates
- CMS & Blog Templates
- Facebook Templates
- Website Builders
FAQs
General Tutorials
Featured templates
MonsterONE Subscrioption


Our Support team is ready to present you a new tutorial that shows how to work with Services posts in CherryFramework 4.
CherryFramework 4. How to work with services posts
Services posts have additional settings to form attractive blocks for service description. You can work with service posts the same way you would work with regular posts.
Services posts are managed via Services tab in your WordPress Dashboard:

Service posts can be arranged into categories for better navigation. To create a new category, navigate to Services -> Categories, type in your category name, description and click on Add new category button:

In order to create a new service post, navigate to Services -> Add New.
Type in your title, post content and set featured image, assign a new post to one of the categories if needed.
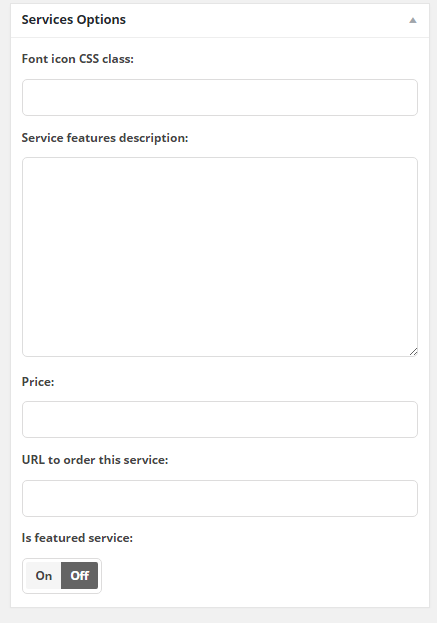
You can also add the font-awesome icon css class, service features description, price, url to order the service, mark the service as featured:
Click on Publish button when you are done.
Services posts can be added to pages with the help of shortcodes. Open your page, click on Insert shortcode icon and select Services:

Configure the shortcode settings according to your needs, click on Insert shortcode button when you are done.
Check the result on your website.
Feel free to check the detailed video tutorial below:
