This tutorial shows how to get rid of white image background.
PrestaShop 1.5. How to get rid of white images background

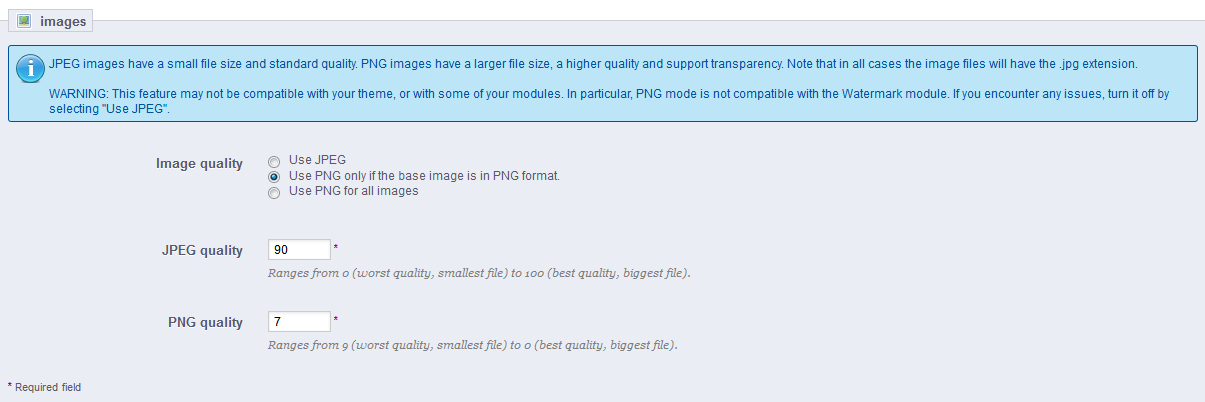
- Open the admin section, go to Preferences -> Images.
- In the Image quality section, select Use PNG only if the base image is in PNG format.
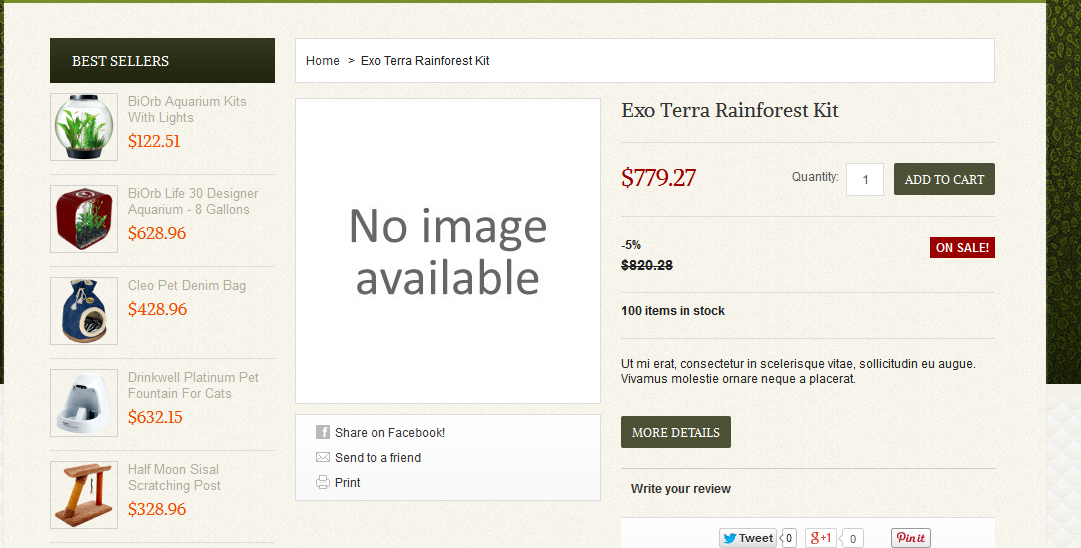
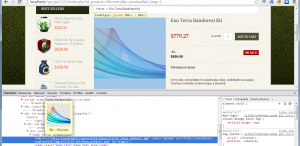
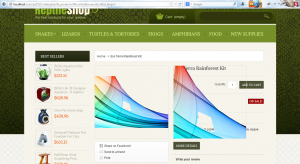
- Open the product in which you need to upload an image with transparent background. We are going to upload the image you can see below. As you can see, it has transparent background. Be sure to use .png format for images that should have transparent background. We have opened Chrome with Inspector in order to show the source of the image. The image has transparent background. However, white borders still show up.
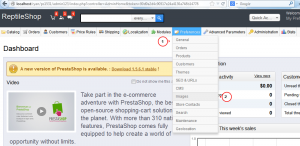
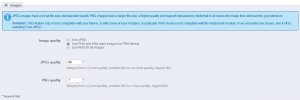
- In order to get rid of the white background, we need to find the source file for white color. You need to turn off cache and CCC compile section to find out in which files customization should be performed. Go to Advanced Parameters -> Performance, turn off cache and select Keep CSS as original option. Refresh the page.
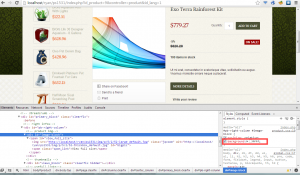
- Now we can see in what file the changes should be made. We have located the white background. Please check this tutorial: Firebug. Mozilla Firefox plugin. You will see how to locate styles using the Firebug developer tool. Basically, it works the same way as the inspector in Chrome.
In our case, we need to edit the \themes\theme571\css\product.css file, line 19. You need to remove the background:#fff; code there.
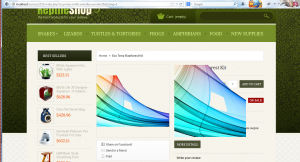
- We have refreshed the page. The white background no longer shows up.
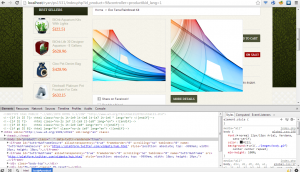
- Now we need to remove white color in the zoomed image. Hover over the image and press the down arrow in order to move to the correct part of the code. We need to change the background specified on the screenshot.
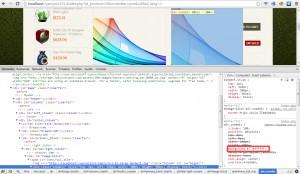
- This code is located in js\jquery\plugins\jqzoom\jquery.jqzoom.css file, however we will override this code in the template global.css file. Add div.zoomdiv {background:none!important;} code to override the default value, save the changes, then upload the file. the modified code should look like the one below.
div.zoomdiv {
background:none!important;
    }
- Refresh the page. We have removed the white background.
- You can also remove the border. In this case, your code should look like:
div.zoomdiv {
    background:none!important;
    border:none!important;
  }
- Refresh the page. We have removed the white background in the product image, in the zoomed image. We have also removed the border around the zoomed image.
Feel free to check the detailed video tutorial below:
PrestaShop 1.5. How to get rid of white images background