


- Web templates
- E-commerce Templates
- CMS & Blog Templates
- Facebook Templates
- Website Builders
FAQs
General Tutorials
Featured templates
MonsterONE Subscrioption


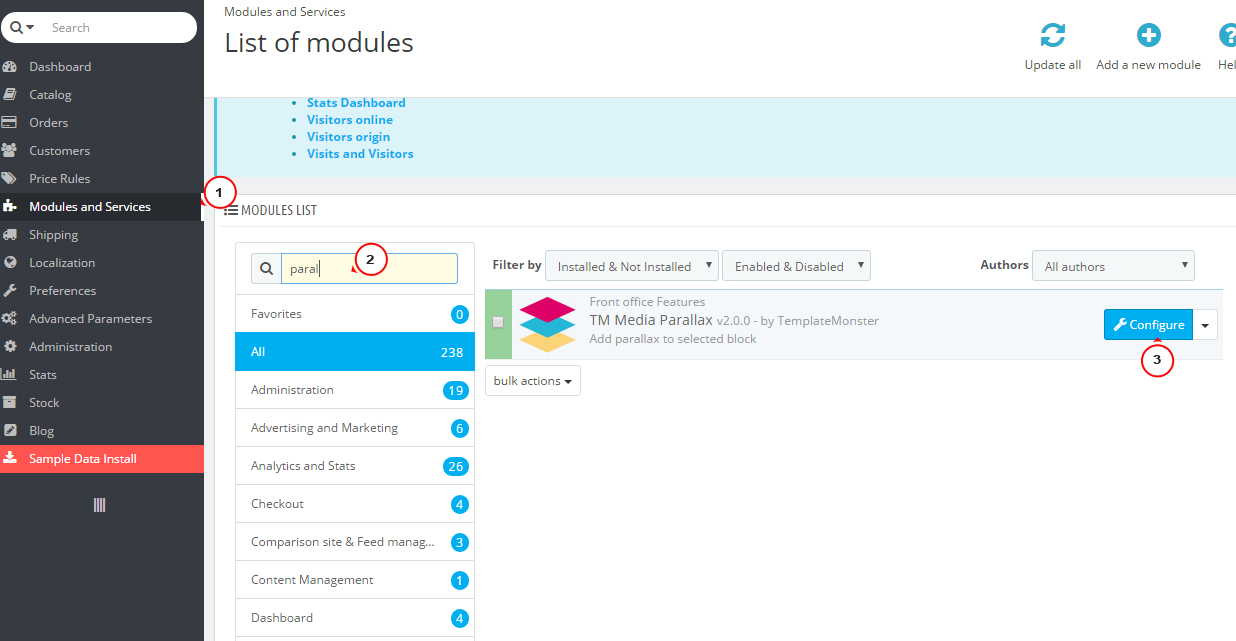
This tutorial shows you how to manage "TM Media parallax v 2.x" module.
Go to the Modules and Services section. Locate the module and click on a Configure button.
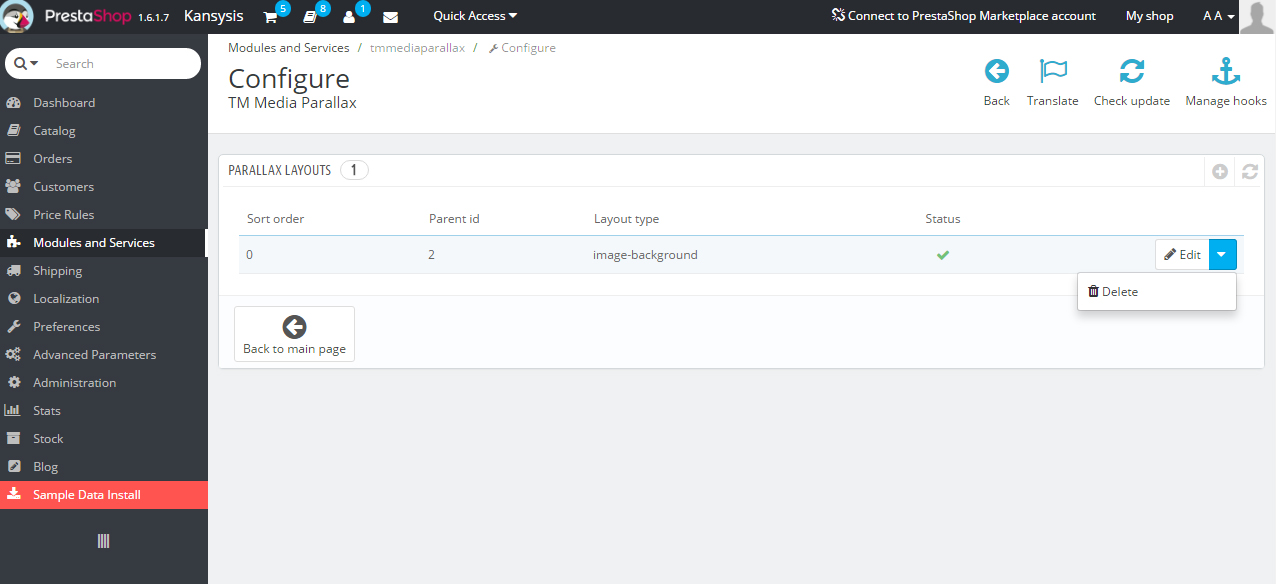
We can see Parallax items here. Item selector shows what section parallax item will be applied to. You can also enable/disable an item in the Status section. There you can also view, edit or add a new item.

Let’s open the item with .newsletter-parallax #newsletter_block_left selector (selector depends on the template). In this section we can see Parallax layouts. Let’s open existing layout.
Each layout has an appropriate type (image-background, video-background, text, youtube-background, image). You can adjust Layout speed, Sort order and Offset. You can also set Inverse option.

You can add several layouts to the Parallax item. For example, you can add text layout like on the screenshot below. You can add the specific class to a CSS file and set this class for the parallax layout in the Specific class option.

Now our Parallax item has two layouts.

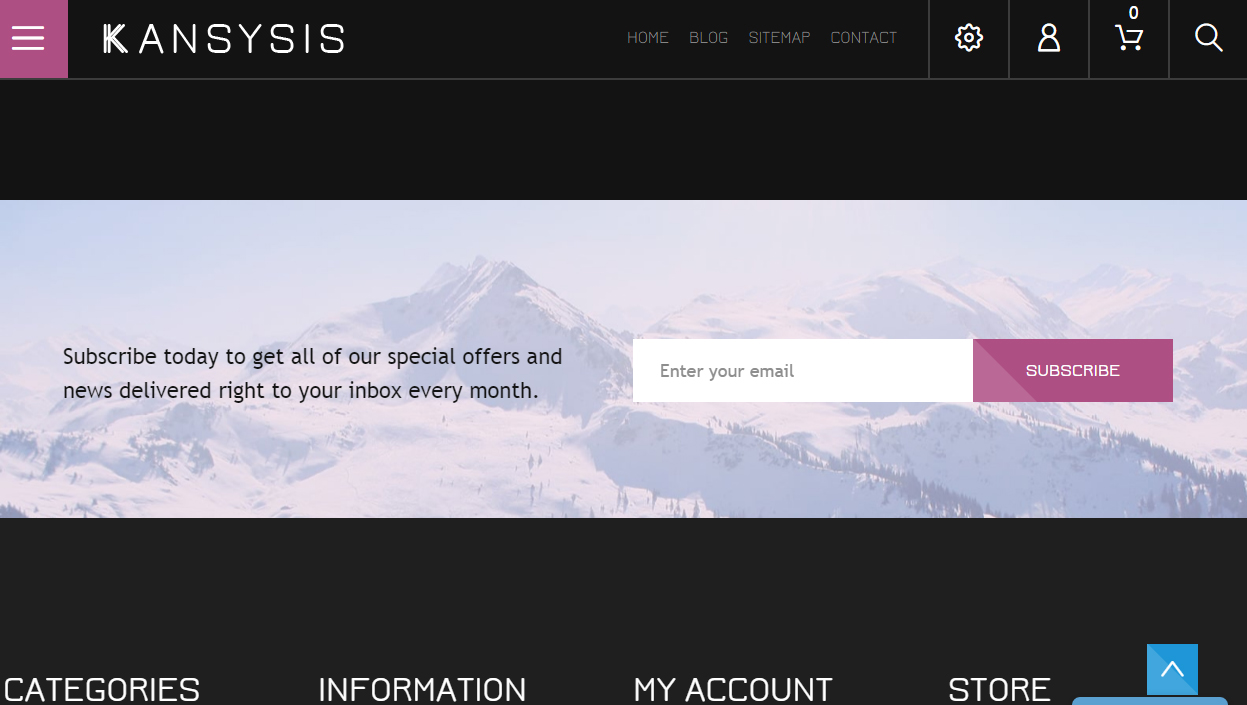
This is how modified Parallax item shows up on our site (we have changed the image and added a text). Please, check a video tutorial for more detailed instructions.

We recommend that you check the module documentation for the detailed information regarding TM Media parallax v 2.x module.
Feel free to check the detailed video tutorial below:
PrestaShop 1.6.x. How to manage “TM Media parallax v 2.x” moduleCheck out our premium PrestaShop themes with great functionality to create a high-performance online store!
