


- Web templates
- E-commerce Templates
- CMS & Blog Templates
- Facebook Templates
- Website Builders
FAQs
General Tutorials
Featured templates
MonsterONE Subscrioption


In this tutorial you will learn how to edit footer copyright message in WordPress templates based on Cherry Framework 4.
CherryFramework 4. How to edit footer copyright notification
.jpg)
Go to Cherry -> Options in WordPress dashboard.
On the Footer tab you need to specify Footer copyright text:

You can go ahead and add your custom text in the “Footer Info text” field:
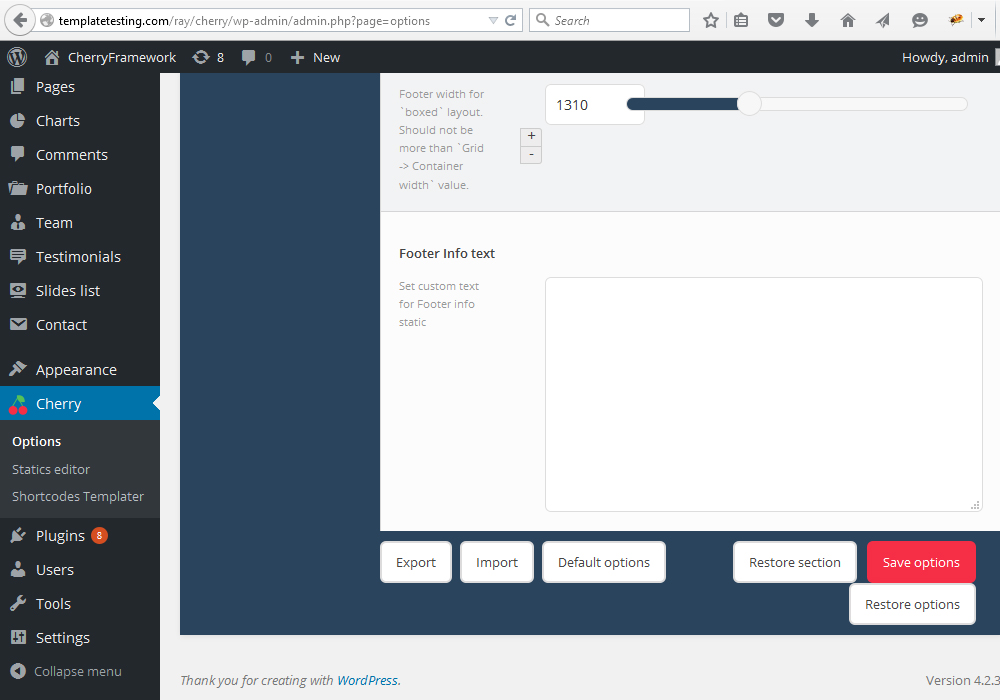
However, if you wish to keep the same style, we recommend copying the HTML source from the original template.
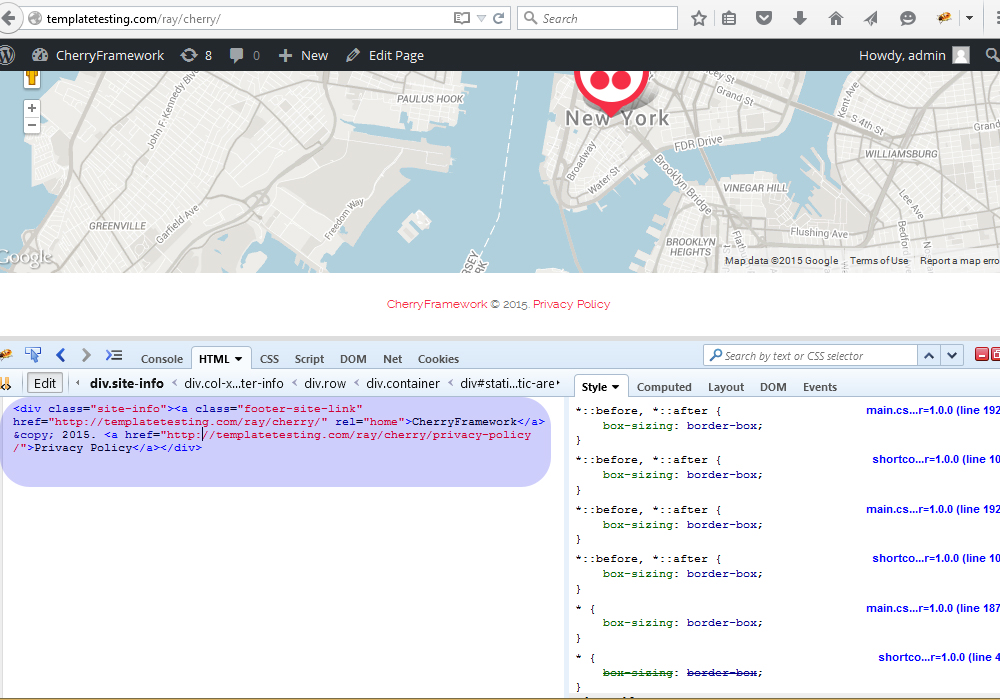
Locate the copyright code using the Firebug Developer plugin. You can find information on how to use the plugin in the Firebug.
Select the “site-info” div and click on Edit button.
Select the source code and copy it:
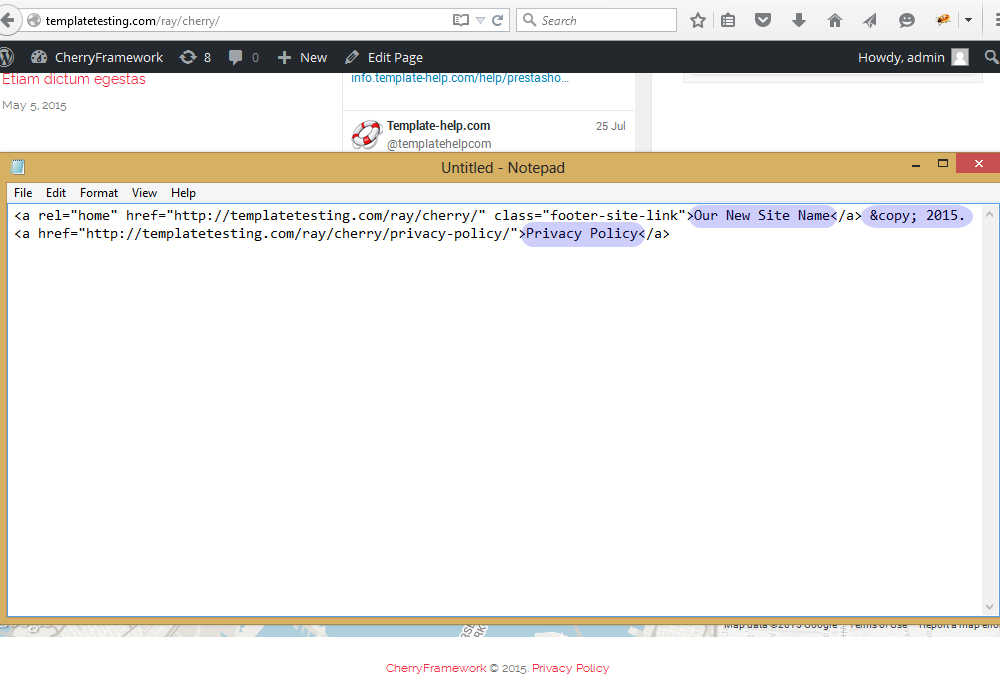
Paste the code into any text editor:
<div class="site-info"><a class="footer-site-link" href="http://templatetesting.com/ray/cherry/" rel="home"> Our New Site Name</a> © 2015. <a href="http://templatetesting.com/ray/cherry/privacy-policy/">Privacy Policy</a></div>
As the result, we should only keep the link and then alter the text to fit your needs:
<a class="footer-site-link" href="http://templatetesting.com/ray/cherry/" rel="home">Our New Site Name</a> © 2015. <a href="http://templatetesting.com/ray/cherry/privacy-policy/">Privacy Policy</a>
Go back to your admin panel and paste the modified text:

Save your changes and reload your site to see result.
Thank you for reading this tutorial. Now you know how to edit footer copyright message in WordPress templates based on Cherry Framework 4.
Feel free to check the detailed video tutorial below:
CherryFramework 4. How to edit footer copyright notification
