


- Web templates
- E-commerce Templates
- CMS & Blog Templates
- Facebook Templates
- Website Builders
FAQs
General Tutorials
Featured templates
MonsterONE Subscrioption


The following tutorial will show you how to import/export data in CSV files in Magento.
Magento. How to export/import data in CSV files
NOTE: It is rather inconvenient to manually add a large number of products at once to a Magento installation. Inserting products one by one will take a long time especially when you have hundreds or thousands of products. In such cases you need an automatic way to add all those products to your Magento online store. We will address all steps you need to take in order to achieve a successful import.

By default, Magento allows to import/export products and customers only. In addition to it, we will show how to import/export your categories.
Let’s export our products.
Log into your Magento administrator area.
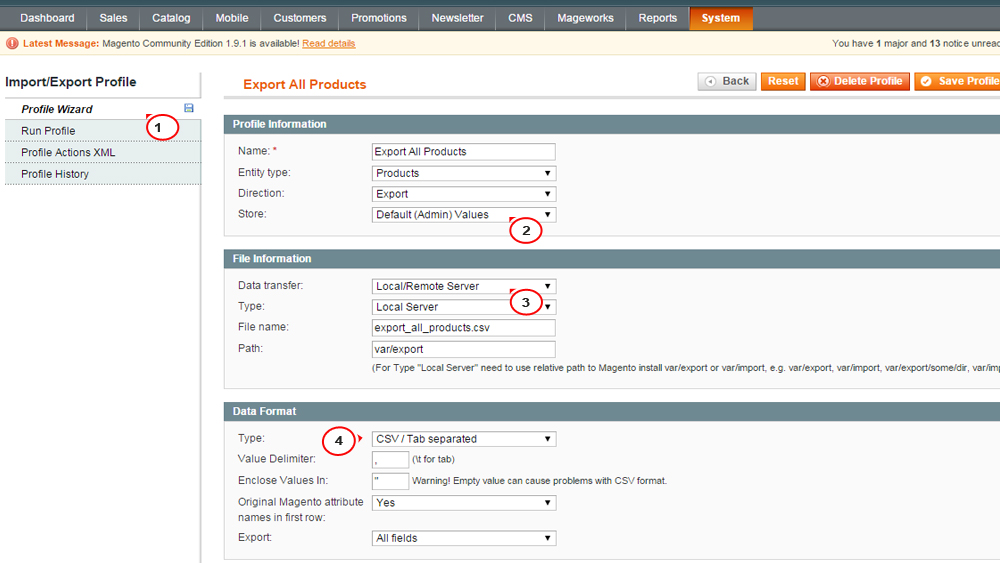
Go to System -> Import/Export -> Dataflow – Profiles -> Export All Products:

Under Profile Wizard -> Store choose the desired store where you will be exporting the products.
Under Data Transfer drop down menu choose Local/Remote Server.
Under Data Format make sure CSV / Tab Separated is selected for type and click Save Profile:
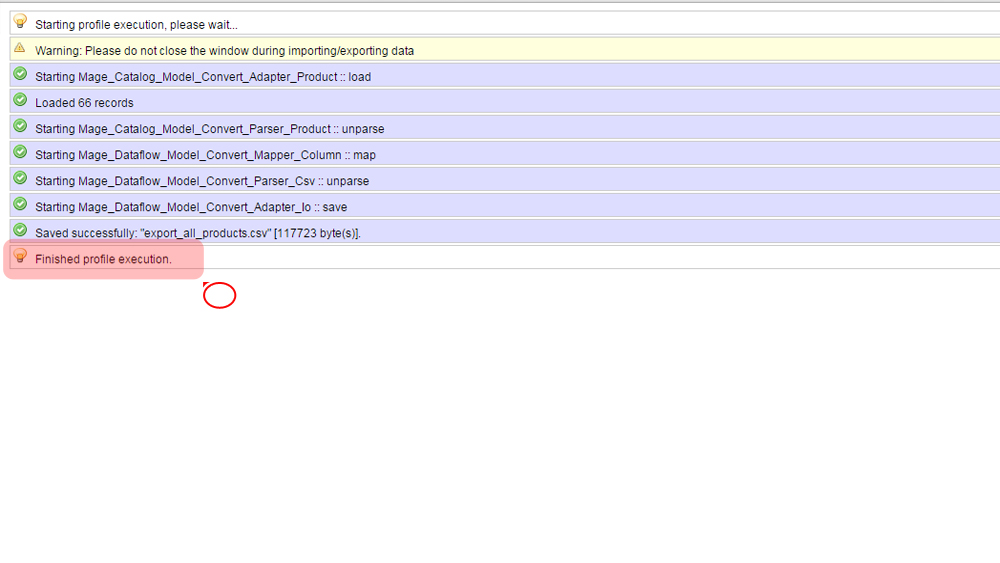
Open Run Profile tab and click Run Profile in Popup button:

This will save a file named export_all_products.csv under the var/export/ directory of your Magento installation. The export success screen will look like the following and will specify the file name where the products were exported:
Using an FTP client or CPanel File manager download this file to your local computer. You can edit it with a spreadsheet program (MS Excel, Open Office Spreadsheet) and add the products you would like to import:

Now we will show how to import the products.
Go to the Magento administrator area and choose System -> Import/Export -> Dataflow – Profiles -> Import All Products. Select the required settings in Profile Wizard tab:

Then choose Upload file tab and browse for the .csv file on your computer. Save changes:

Once you have uploaded it, click Import All Products, then Run Profile, select the .csv file you have just uploaded from the drop down menu and click Run Profile in Popup:

When import is completed, you will get an export success message. The similar way you can export and import your customers.
Unfortunately, by default, Magento does not allow to import or export categories. We will use the free Mageworks extension to do such import/export. To install it, you need to download the zip file and upload its content to the root of your Magento on the server.
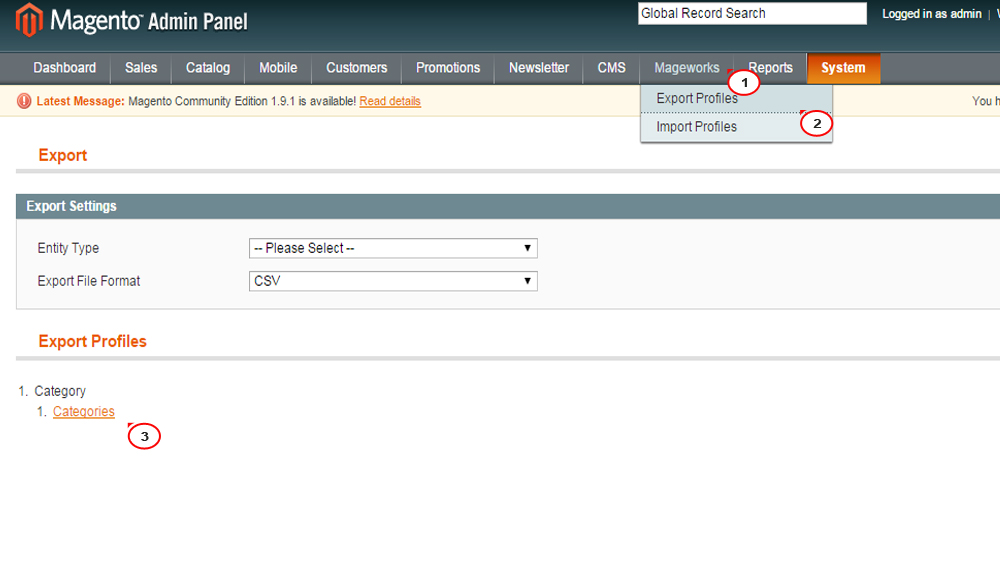
To export the categories, navigate to Mageworks->Export profiles of your Magento dashboard.
Click Categories and wait until the export is completed:
The system generates categories.csv file into var/export/category/ directory on your server.
To import categories, navigate to Mageworks->Import profiles and specify the file name located in var/import/category directory (categories.csv by default).
Click Submit and wait until the categories import is completed:

That is the end of the tutorial. Now you know how to import/export data in CSV files in Magento.
.jpg)
Feel free to check the detailed video tutorial below:
