


- Web templates
- E-commerce Templates
- CMS & Blog Templates
- Facebook Templates
- Website Builders
FAQs
General Tutorials
Featured templates
MonsterONE Subscrioption


The following tutorial will show you how to add custom links to the categories menu in PrestaShop 1.6.x template.
PrestaShop 1.6.x. How to add custom links to categories menu
Log into your PrestaShop admin panel.
Navigate to Modules->Modules.
Look for the Top Horizontal Menu and click Configure button.

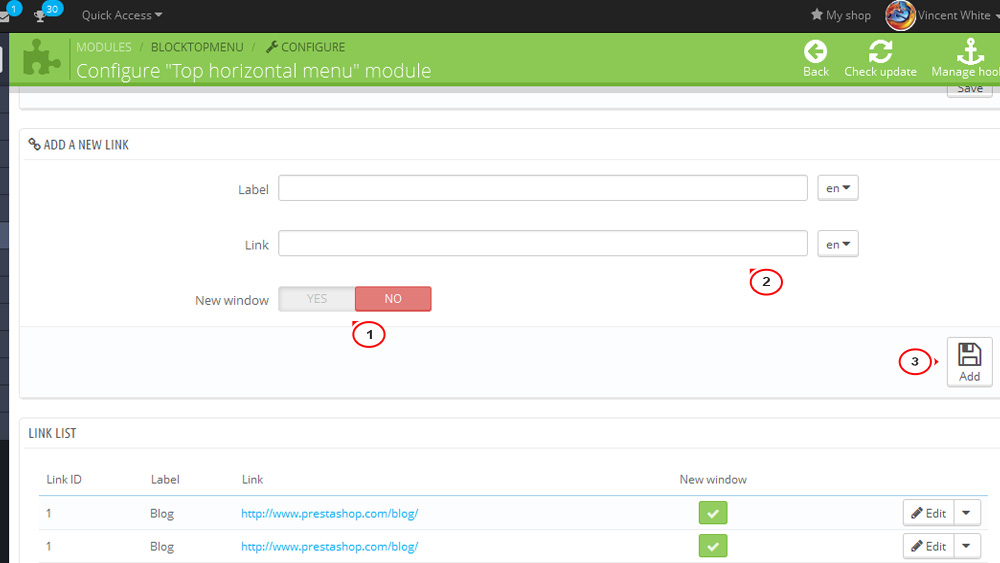
You will find Add a new link section there.
Label – enter the public title of your new custom link.
Link – set the URL of the new link.
New window – decide if browsers should open this new link in a new window or not.
Click Add after you enter all data.
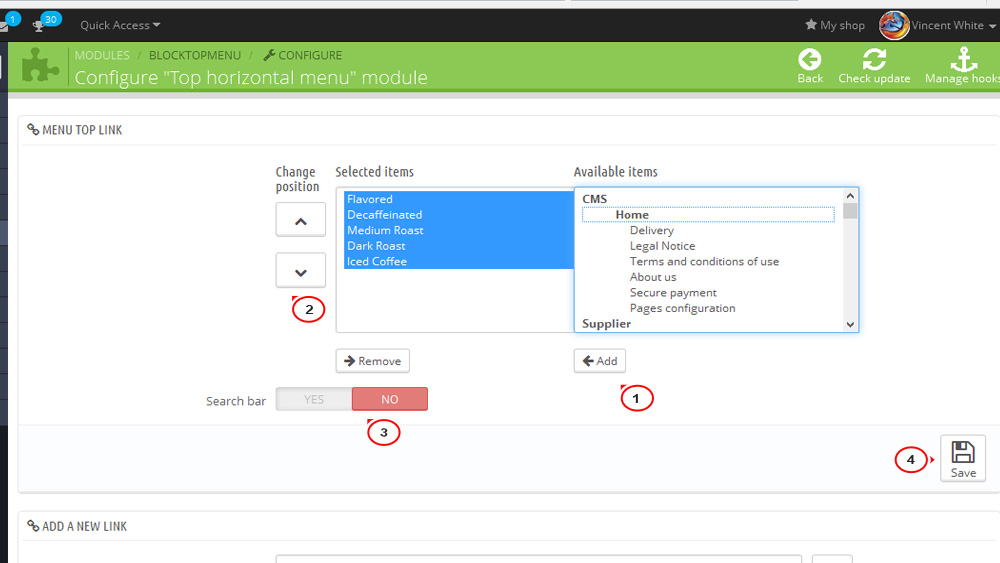
Scroll up to Menu Top Link section.
Select your new link in Available items column and add it to Selected items one.
Change the position of the new link in the top menu the way you like and click Save to confirm changes.
Check your website. We have added the custom link to our categories menu successfully.
Feel free to check the detailed video tutorial below:
PrestaShop 1.6.x. How to add custom links to categories menu
