


- Web templates
- E-commerce Templates
- CMS & Blog Templates
- Facebook Templates
- Website Builders
FAQs
General Tutorials
Featured templates
MonsterONE Subscrioption


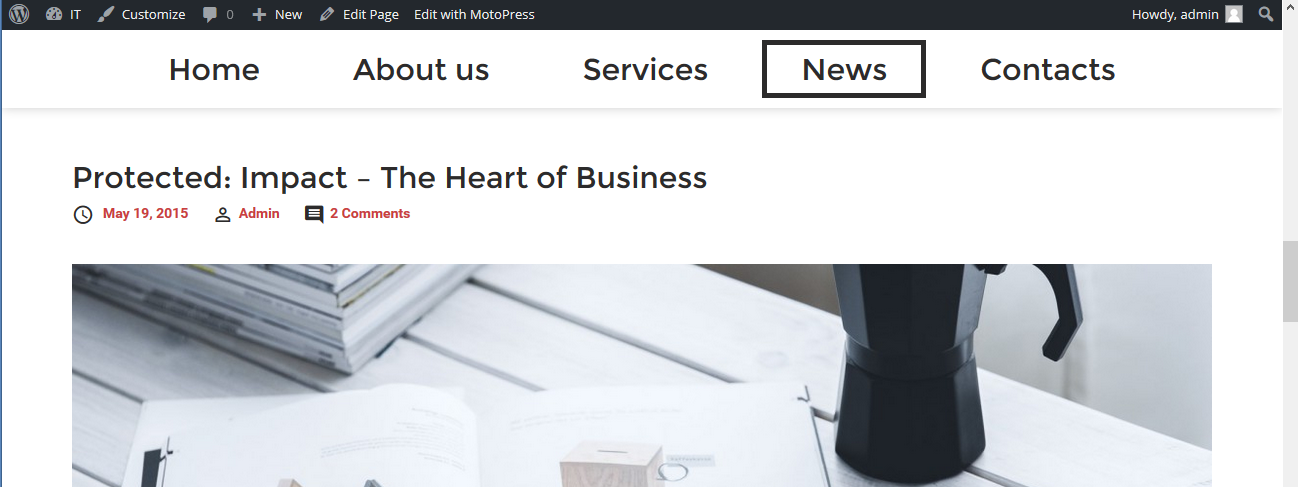
Hello! This tutorial is going to show you how to edit or remove the ‘Protected’ prefix from password protected posts in WordPress.
If your post is protected with a password, the specific prefix will be displayed before its title in the blog listing:
In order to edit it you need to open your FTP or File manager tool at the hosting cPanel, then go to wp-content/themes/themeXXXX folder (here XXXX stands for your theme number) and open functions.php file for editing. You can also reach this file at site Dashboard, at the Appearance -> Editor section.
Add the following code to the end of file:
			/**
			* Removes or edits the 'Protected:' part from posts titles
			*/

			add_filter( 'protected_title_format', 'remove_protected_text' );
			function remove_protected_text() {
			return __('Protected: %s');
			}
Here you can also change or remove the “Protected:” text if needed.
Edit the text and save changes. Then refresh your blog page to see the modifications applied.

As you can see, prefix was edited successfully. Let’s remove it completely. In order to do this, delete the text you don’t need to appear (but keep the ‘%s’ that stands for title). As a result, your code will appear this way:
			/**
			* Removes or edits the 'Protected:' part from posts titles
			*/

			add_filter( 'protected_title_format', 'remove_protected_text' );
			function remove_protected_text() {
			return __('%s');
			}
Save changes and check the page once again.The prefix was removed and post’s title does not differ from the others now.

Now you know how to edit or remove the ‘Protected’ prefix from post’s titles.
Feel free to check the detailed video tutorial below:
WordPress. How to remove/change “Protected:” prefix for password protected posts