


- Web templates
- E-commerce Templates
- CMS & Blog Templates
- Facebook Templates
- Website Builders
FAQs
General Tutorials
Featured templates
MonsterONE Subscrioption


This tutorial shows how to set a default editing mode in WordPress.
WordPress. How to set default editing mode
As you know, posts and pages in WordPress can be modified in a text mode or in a visual mode. Sometimes it can be useful to set one default editing mode.
.jpg)
In order to set the default editing mode, there are two ways:
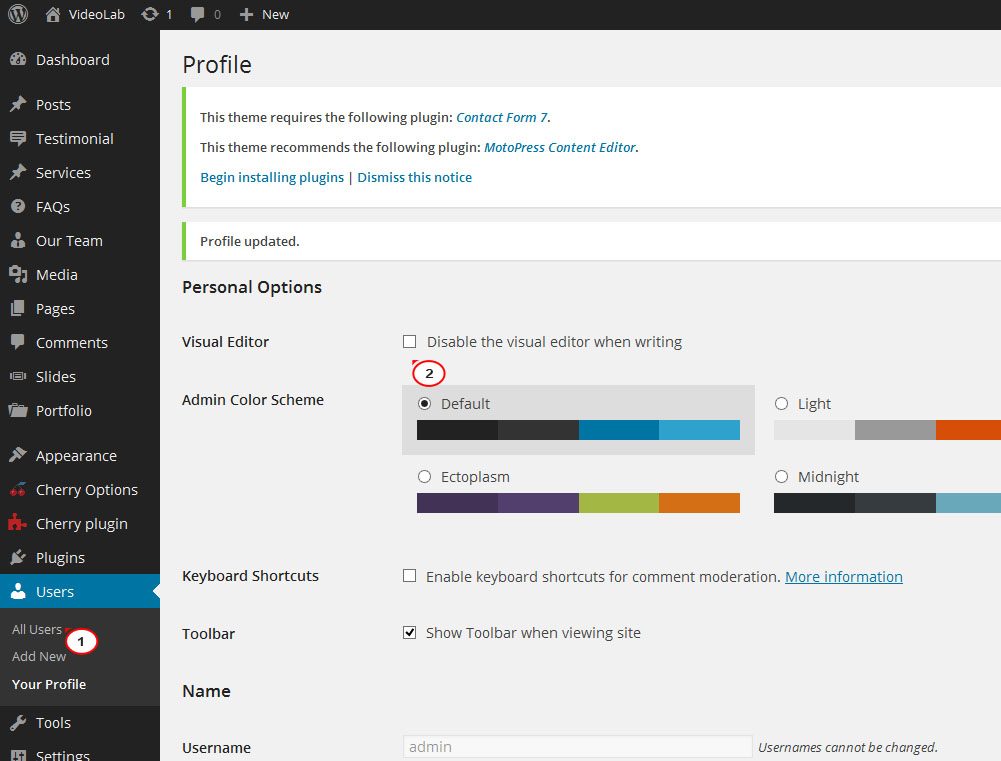
The first way is to open WordPress admin panel and go to Users menu. Click on your user account and select Disable the visual editor when writing option. This way you can set the text edit mode as default for your profile:
In order to set text/visual default edit mode for all users, please open wp-content/themes/themeXXXXX/includes/theme-function.php file. Please add one of the codes displayed below before the closing ?> tag at the bottom of the file:

To set the visual mode as default, please add:
add_filter( 'wp_default_editor', create_function('', 'return "tinymce";'));

To set the text mode as default please add:
add_filter('wp_default_editor', create_function('', 'return "html";'));

Feel free to check the detailed video tutorial below:
