- Web templates
- E-commerce Templates
- CMS & Blog Templates
- Facebook Templates
- Website Builders
ZenCart. How to manage EZ-pages and add them to menus
June 24, 2015
In this tutorial you will learn how to create pages using EZ pages option in ZenCart template(s).
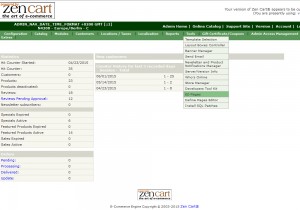
ZenCart. How to manage EZ-pages and add them to menusLog into ZenCart Admin panel and navigate to Tools -> EZ-Pages menu:

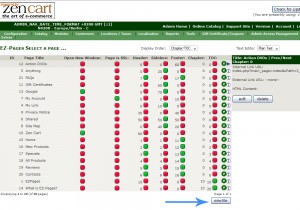
Click new file button located at the bottom of the page:

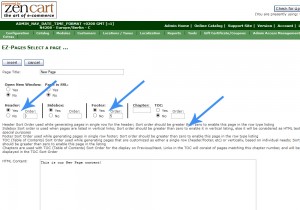
We can add our new menu to the Header | Sidebox or Footer sections using the Yes/No selectors.
You can remove the code or comment it out using two forward slash punctuation marks for PHP: //
and for HTML you can use the following punctuation marks: <!– comment –>
Specify the Sort Order number for newly added item. Note that Sort order value should be greater than zero to enable this page in the row type listing (header/footer).
Save your modifications and reload the site to see the changes:

Thank you for reading this tutorial. Now you know how to create pages using EZ-pages option in ZenCart template(s).
Feel free to check the detailed video tutorial below:
ZenCart. How to manage EZ-pages and add them to menus


