


- Web templates
- E-commerce Templates
- CMS & Blog Templates
- Facebook Templates
- Website Builders
FAQs
General Tutorials
Featured templates
MonsterONE Subscrioption


This tutorial shows how to add several sliders and assign them to specific pages in CherryFramework 4 templates.
CherryFramework 4. Motopress slider. How to add several sliders and assign them to specific pages.jpg)
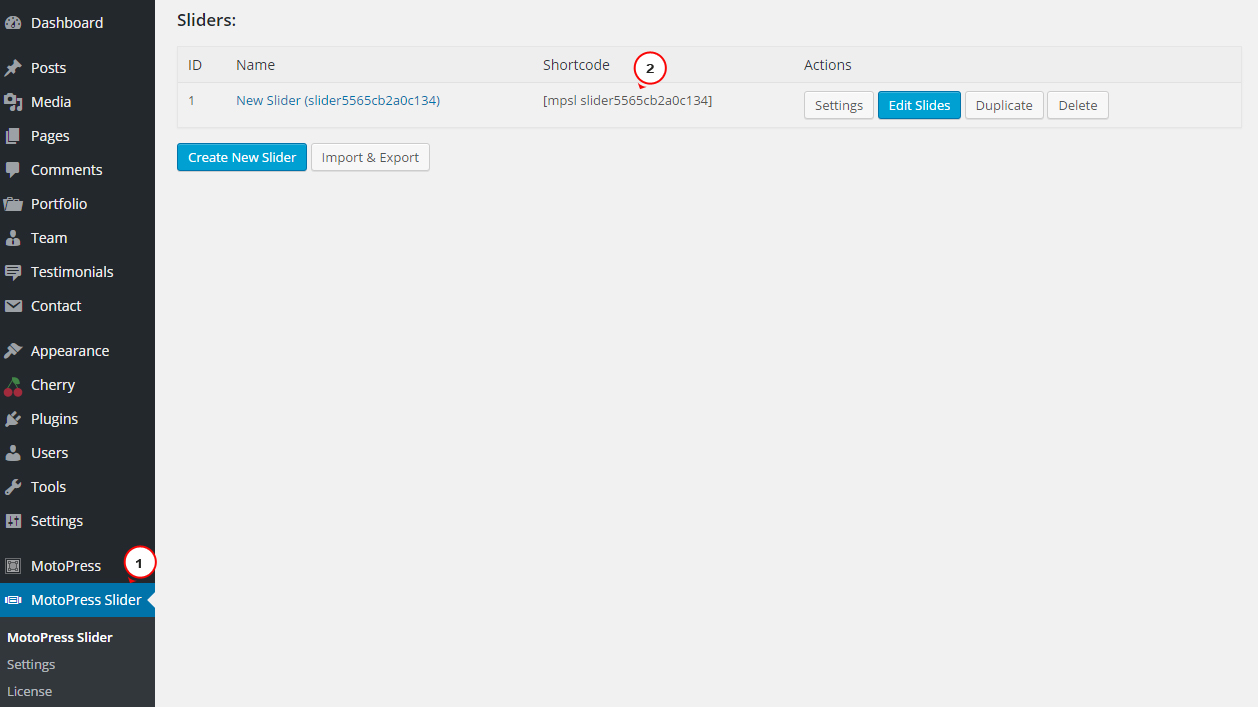
Open admin section and access MotoPress Slider. So far we have one slider. Each slider has a unique shortcode. You should add this shortcode to the page. Let’s add this slider to home page. Copy the shortcode:
Open home page in a text mode and add a shortcode. Save changes:

We have added slider to home page:

Let’s add another slider to About us page. You can add a new slider using Create New Slider button. In this case you will need to set slider settings:

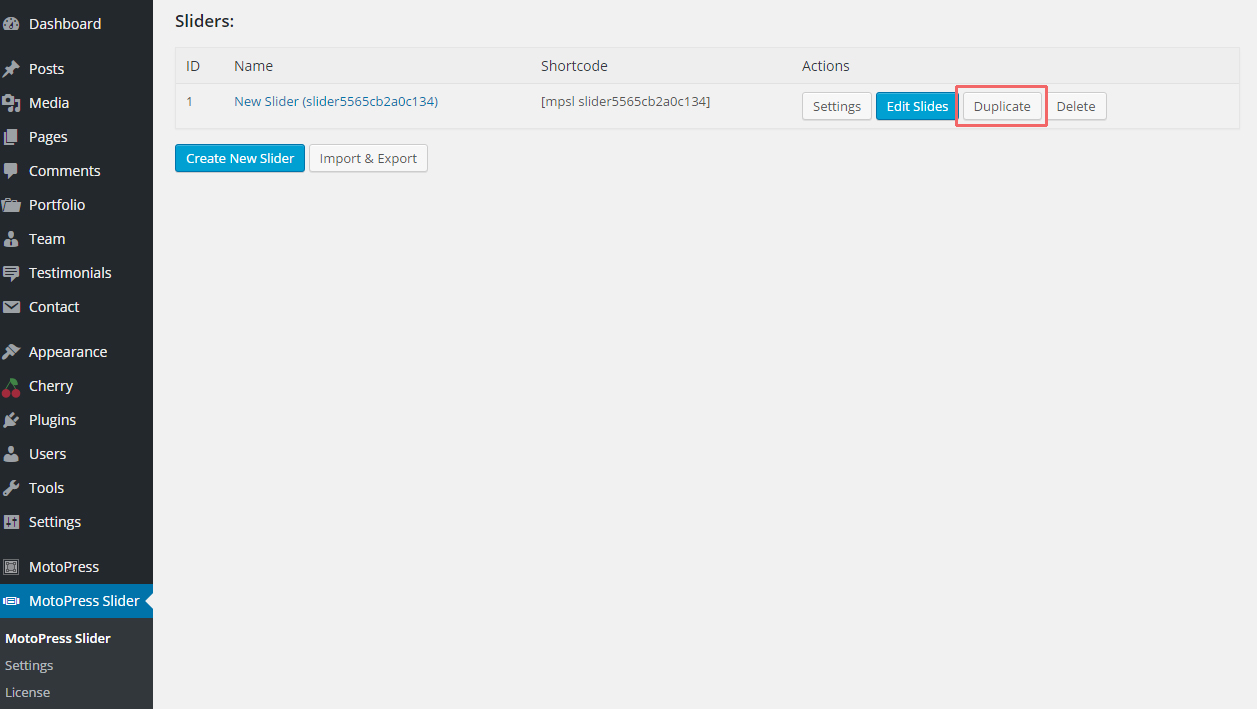
Alternatively, you can simply duplicate one of the existing sliders and change slider images. In this case new slider will have the same settings as original slider. You can duplicate slider using Duplicate button of existing slide. We are going to duplicate current slider:
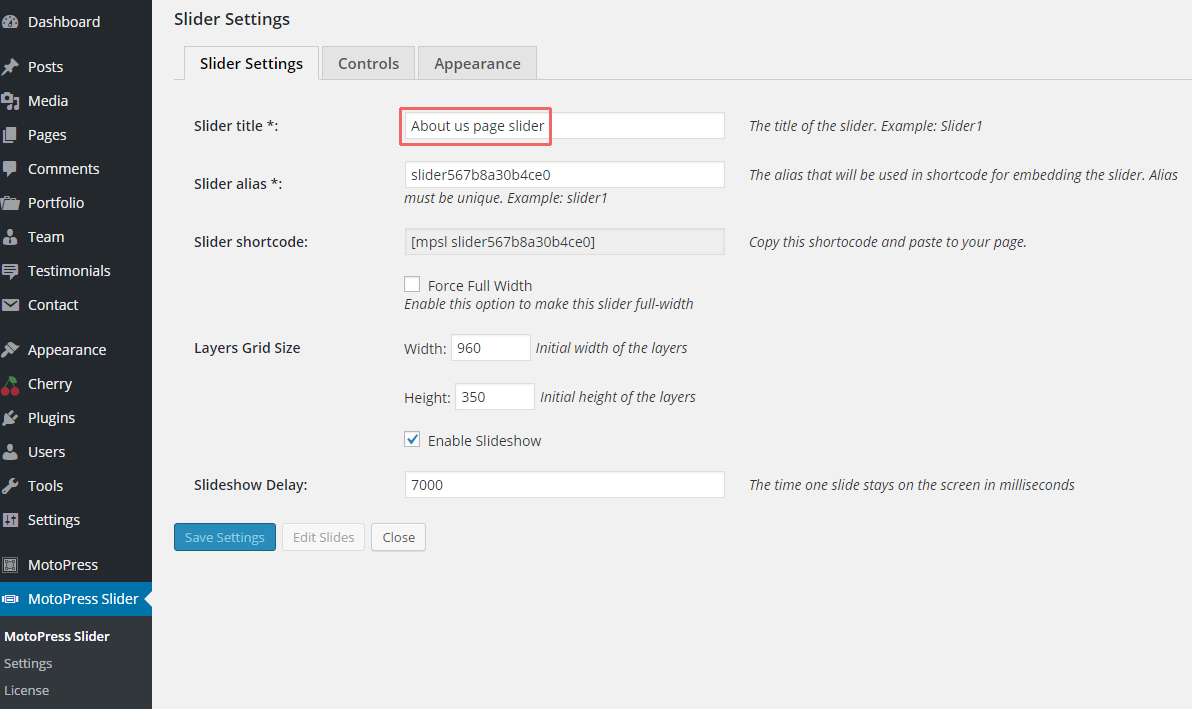
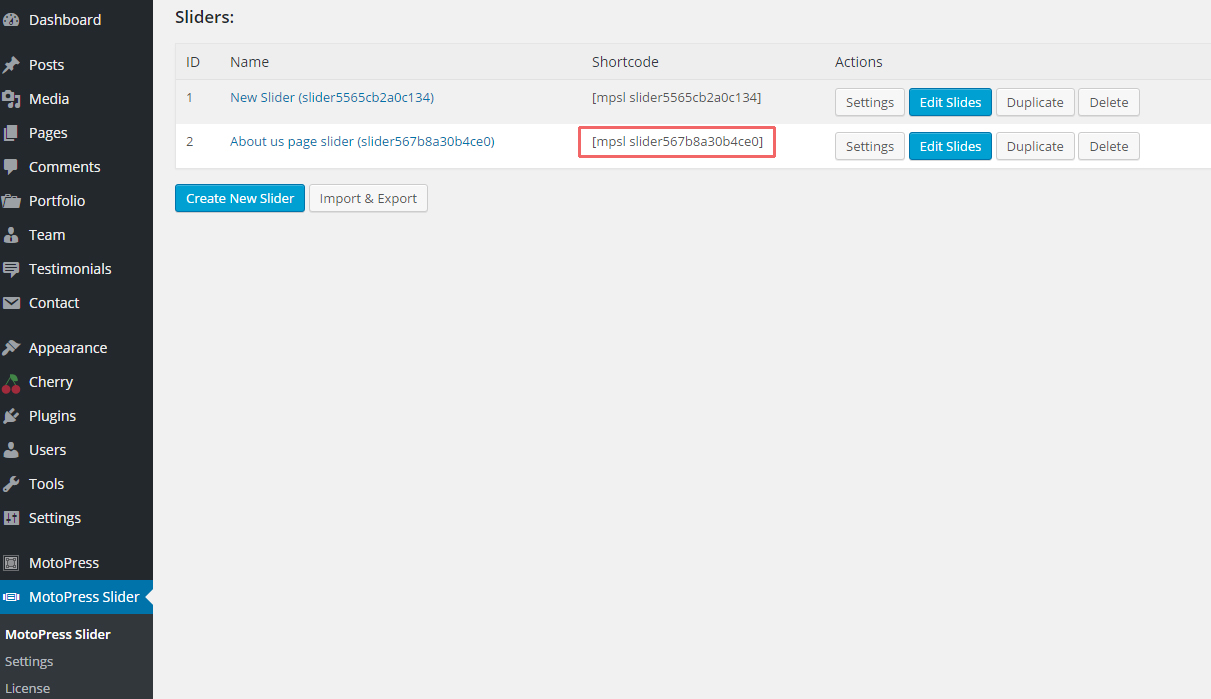
Slider will be duplicated. You can change slider name in slider settings. We have renamed slider to About us page slider:
Change slider images using Edit Slides button:
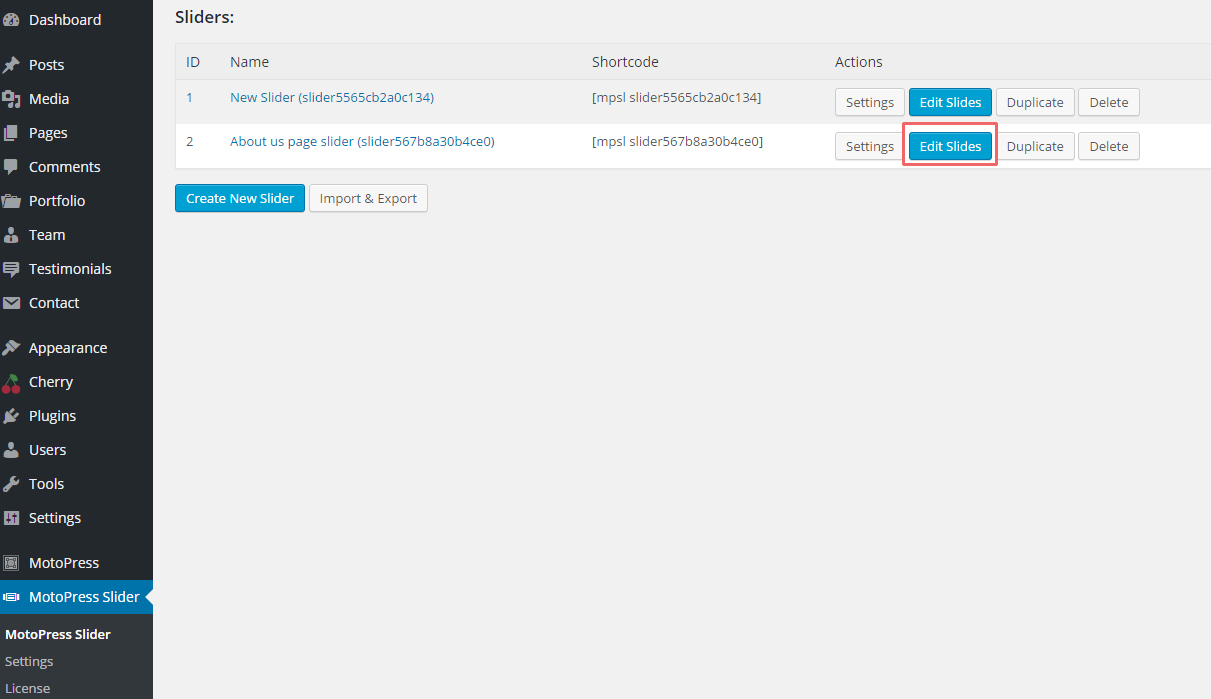
Copy shortcode of a new slider:
We are going to add slider to About us page. Paste shortcode and save changes:

Slider was added to About us page:

Let’s add one more slider to services page. Duplicate one of slider or add a new slider. Copy shortcode:
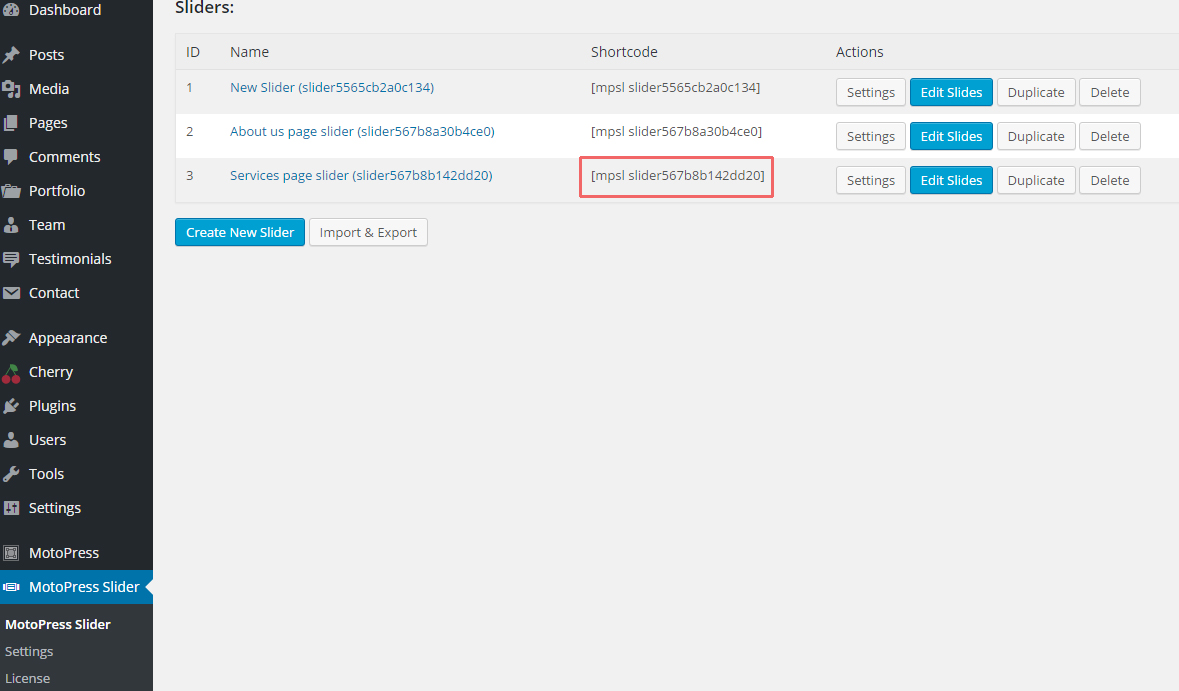
Add shortcode to page. Save changes:
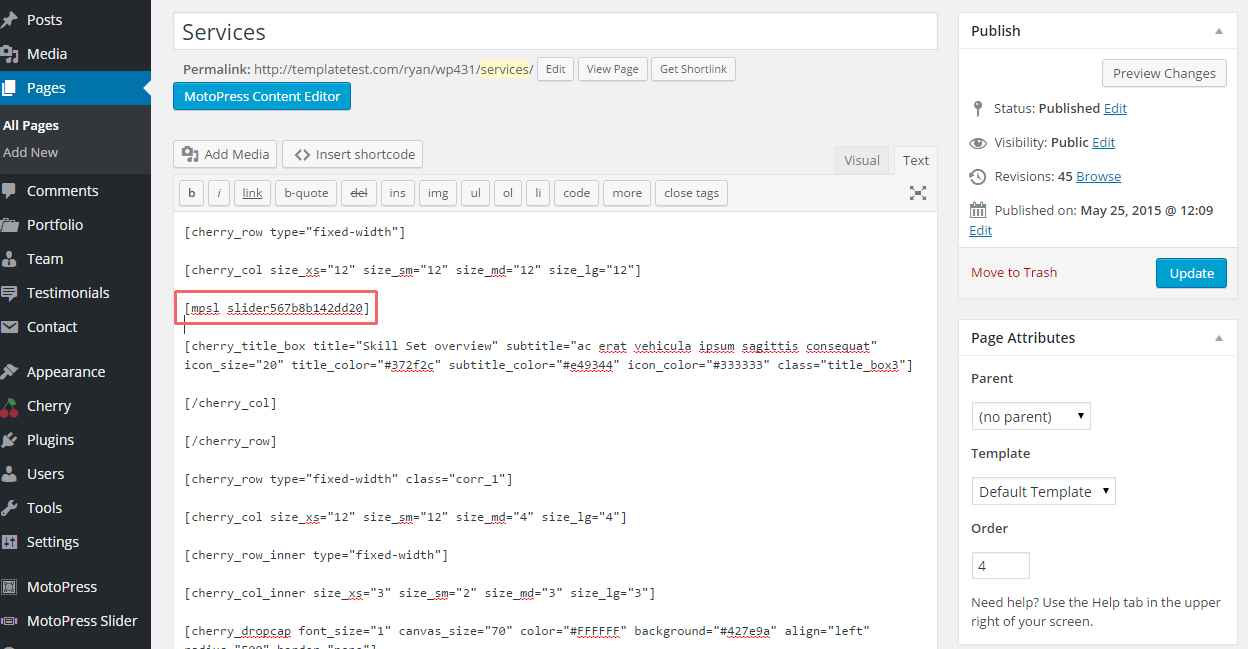
We have added slider to Sevices page:

Feel free to check the detailed video tutorial below:
CherryFramework 4. Motopress slider. How to add several sliders and assign them to specific pages