Hello! In this tutorial you’ll learn how to create and install a fullpackage of your WordPress template.
WordPress. How to create a WordPress fullpackage and install it

-
Download most recent WordPress engine version from official WordPress site
-
Unzip it and your template package on your local computer:

-
Open your template package/theme folder and copy two zip files CherryFramework.zip and themeXXXXX.zip to wp-content/themes folder in your engine files:

-
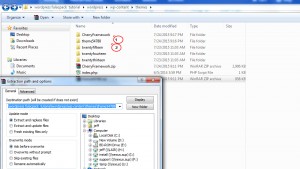
Create two folders titled the same as zip files you copied and unzip them in the folders accordingly. You can erase zip files afterwards:
-
Copy the uploads folder from your template package theme/manual_install folder to wp-content folder of your engine:

-
Copy plugins from CherryFramework/includes/plugins and from themeXXXXX/includes/plugins:

-
Copy those plugins to wp-content/plugins folder of your fullpackage engine:

-
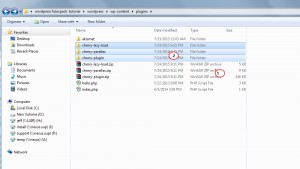
Unzip them to the folders with the same names there. You can erase zip files if needed when you’re done:
-
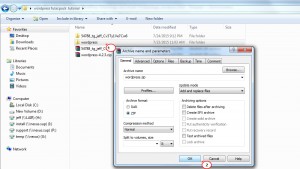
Zip the fullpackage we created on your computer and upload it to the directory on your server where you wish your future site to be located:
-
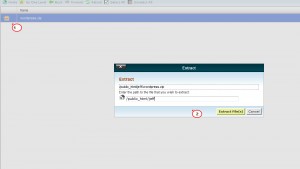
Unzip the fullpackage we uploaded on your server and open your site url in the browser to start the installation:
-
If you don’t have database created yet, please check this tutorial.
-
Proceed with regular engine installation steps and open your admin Dashboard:

-
Navigate to Appearance -> Themes and activate your theme there:
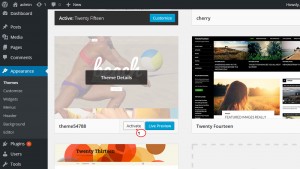
-
Navigate to Plugins and make sure all the plugins we uploaded to the fullpackage are activated:

-
Open folder theme/manual_install in your template package once again and open file themeXXXXX.sql in text editor like Notepad++ and replace all the occurrences of your_website_url_here with your actual url:
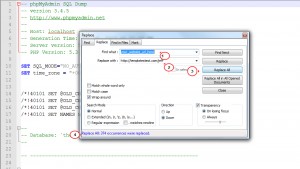
-
Import the themeXXXXX.sql file to your hosting phpMyAdmin tool as described here.
-
After import open your site and check how it looks:

You’ve learned how to create and install fullpackage for your WordPress template. Feel free to check the detailed video tutorial below:
WordPress. How to create a WordPress fullpackage and install it









